Please note this post contains affiliate links.
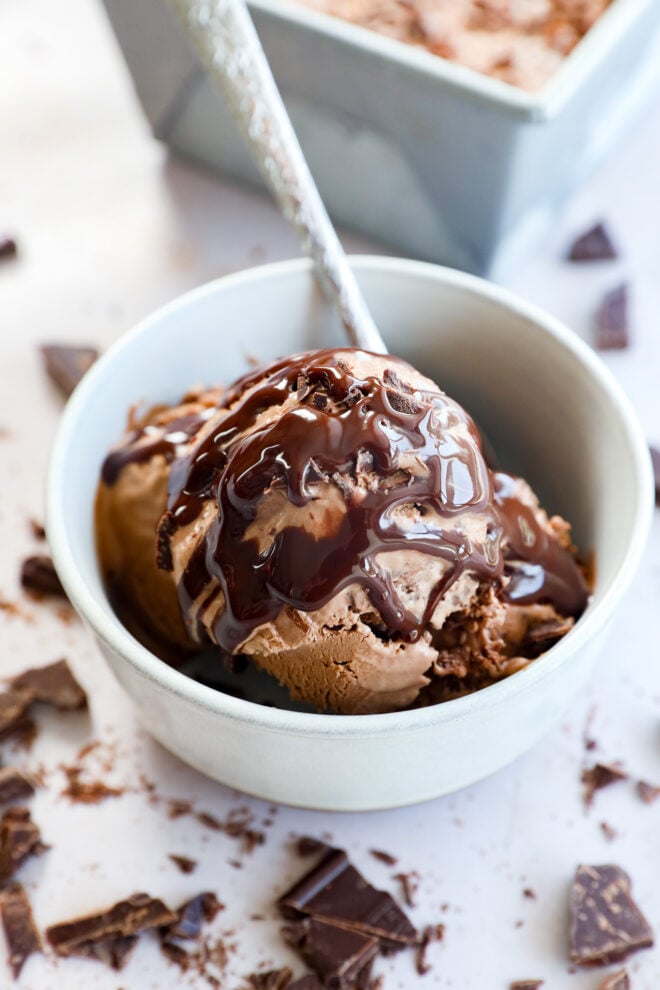
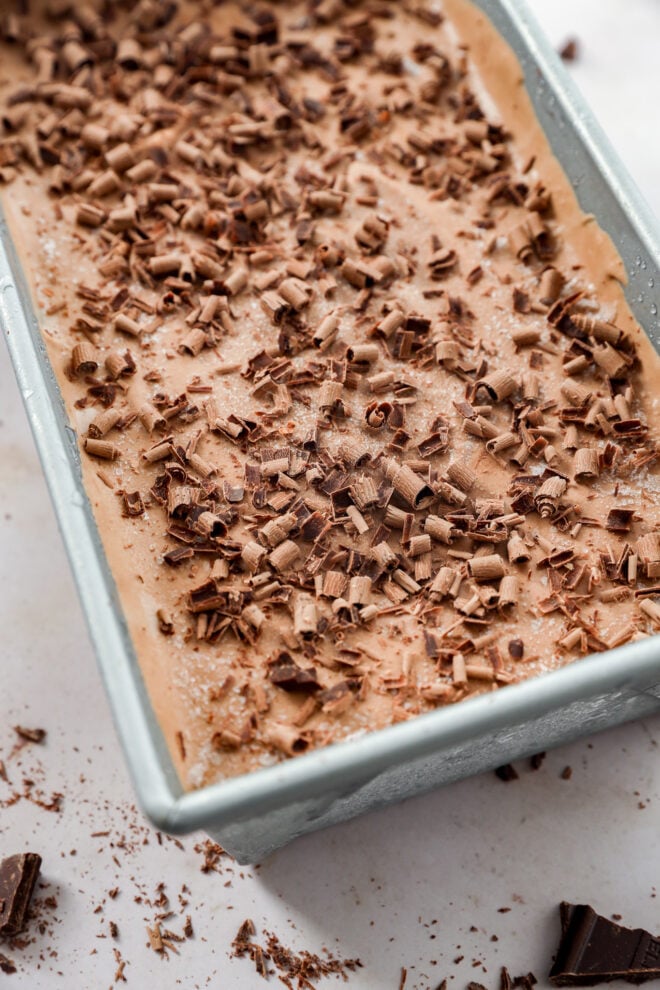
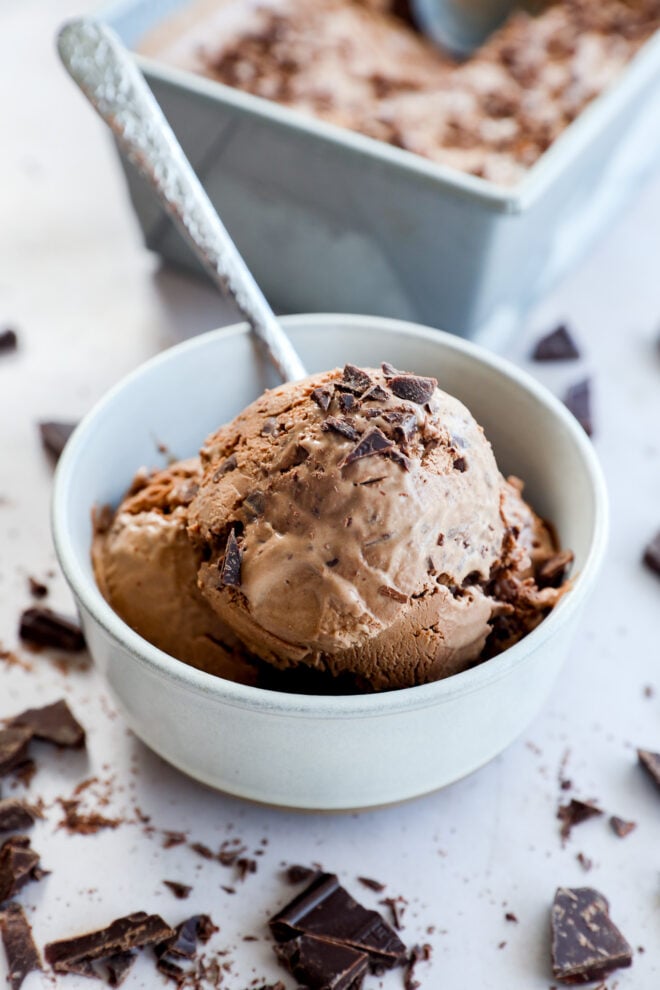
If chocolate is your love language, this death by chocolate ice cream needs a permanent spot in your freezer. Made with Dutch process cocoa and loaded with mini chocolate chips, this no churn ice cream comes together without an ice cream maker in about 20 minutes of hands-on time. It’s rich, creamy, and packed with chocolate in every single scoop.
About this Death By Chocolate Ice Cream
This death by chocolate ice cream started as a way to make something cold and comforting for a kid recovering from a tonsillectomy. It didn’t take long before it became a recipe I make year-round, whether someone needs a little comfort food, we’re celebrating a birthday, or I’m just deep in a chocolate craving. Rich, creamy, and packed with chocolate in every scoop.
The best part about this death by chocolate ice cream is how simple it is. It’s a no churn recipe, so there’s no ice cream maker to pull out, no custard base to make, and no eggs to temper. The chocolate mixture comes together on the stovetop in about 10 minutes. Then you chill it, whip it with cold heavy cream, and let the freezer do the rest.
Dutch process cocoa powder is what gives this death by chocolate ice cream its deep color and rich chocolate flavor. Unlike natural cocoa powder, Dutch process cocoa has been treated to reduce its acidity, giving it a smoother, darker, more intense chocolate flavor. It’s a small detail, but it’s one of the biggest reasons this recipe tastes so rich. I’ve tested it with regular cocoa and the difference is noticeable.
Mini chocolate chips get folded into the base before freezing, giving every scoop extra pockets of chocolate and creamy texture. A few key techniques (straining the chocolate base, whipping only to medium peaks, pressing plastic wrap directly onto the surface before freezing) keep this no churn ice cream smooth and creamy without any ice crystals.
Why You’ll Love This Recipe
- No ice cream maker required.
- Rich chocolate flavor without making a traditional custard.
- Dutch process cocoa gives every scoop a deep chocolate taste.
- Cocoa nibs and mini chocolate chips add texture throughout.
- Easy to customize with your favorite mix-ins and toppings.
- Great for making ahead since it keeps well in the freezer.
- Makes about one quart, making it just the right size for sharing.
ingredients
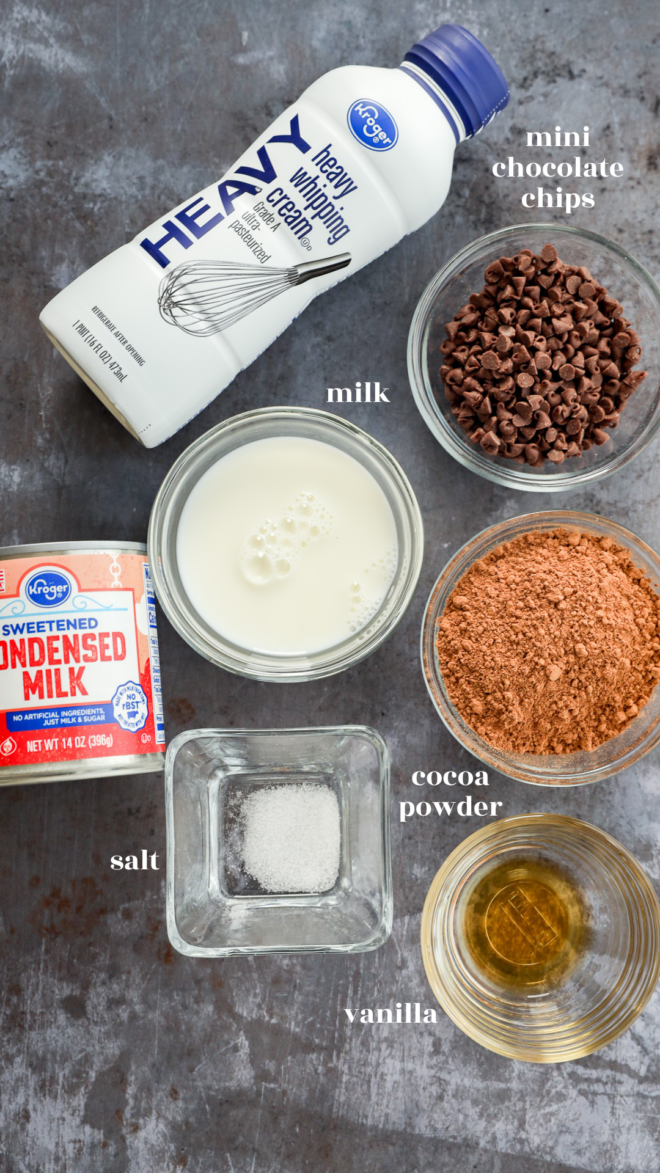
Dutch process cocoa powder. Use Dutch process cocoa powder because it is what makes this ice cream taste like death by chocolate. Look for brands like Droste, Guittard, Valrhona, or Hershey’s Special Dark on the label (Special Dark is technically Dutched). Natural cocoa powder will work in a pinch, but the flavor won’t be nearly as deep.
Whole milk. Whole milk helps create a smooth chocolate base before everything is whipped together. For the creamiest texture, I recommend sticking with whole milk.
Sweetened condensed milk. This is what makes no churn ice cream possible. It sweetens the base while adding thickness and creaminess. Make sure you grab sweetened condensed milk (thick and syrupy) and not evaporated milk (thinner, no sugar). They look similar on the shelf but they’re completely different products.
Heavy whipping cream. Cold heavy whipping cream is what gives this death by chocolate ice cream its light, airy texture without a churner. Use it straight from the fridge (not room temperature). If your kitchen is warm, chill your mixing bowl and whisk attachment in the freezer for 10 minutes before whipping.
Sea salt and vanilla extract. A pinch of salt balances the sweetness while vanilla rounds out the chocolate flavor. They’re simple ingredients that make a noticeable difference.
Mini chocolate chips. Mini chocolate chips fold beautifully into the ice cream base and create pockets of chocolate throughout every scoop. Regular chocolate chips work too, but the mini size distributes better and doesn’t feel like biting into a chocolate boulder. Semi-sweet or dark chocolate mini chips both work.
Equipment You’ll Need for Death By Chocolate Ice Cream
A small saucepan is all you need to make the chocolate base. Keep the heat low so the cocoa dissolves smoothly without scorching.
A fine mesh sieve is worth using here. It catches any small cocoa lumps so the finished ice cream has a silky texture.
You’ll also need a stand mixer or hand mixer with a whisk attachment to whip the mixture to medium peaks. This step creates the light, creamy consistency that makes no-churn ice cream so good.
Finally, grab an airtight freezer-safe container along with plastic wrap. Pressing the plastic wrap directly onto the surface before sealing the container helps prevent ice crystals while the ice cream freezes.
How to Make this Death By Chocolate Ice Cream
Heat
Add the whole milk to a small saucepan and sift the Dutch process cocoa powder over the top (sifting prevents lumps, do not skip this step). Whisk in the sweetened condensed milk and salt. Cook over low heat, whisking constantly for 3-5 minutes, until the mixture is smooth and just begins to steam. Do not let it boil. If you see any bubbles, pull it off the heat immediately.
Strain
Pour the warm chocolate base through a fine mesh sieve into a bowl. This catches any small cocoa lumps and guarantees a silky-smooth ice cream. Refrigerate for about 2 hours until completely cold. To speed things up, put it in the freezer for 20 minutes but set a timer and stir at 10 minutes so it doesn’t freeze solid. The base must be fully cold before the next step or the cream won’t whip properly.
Whip
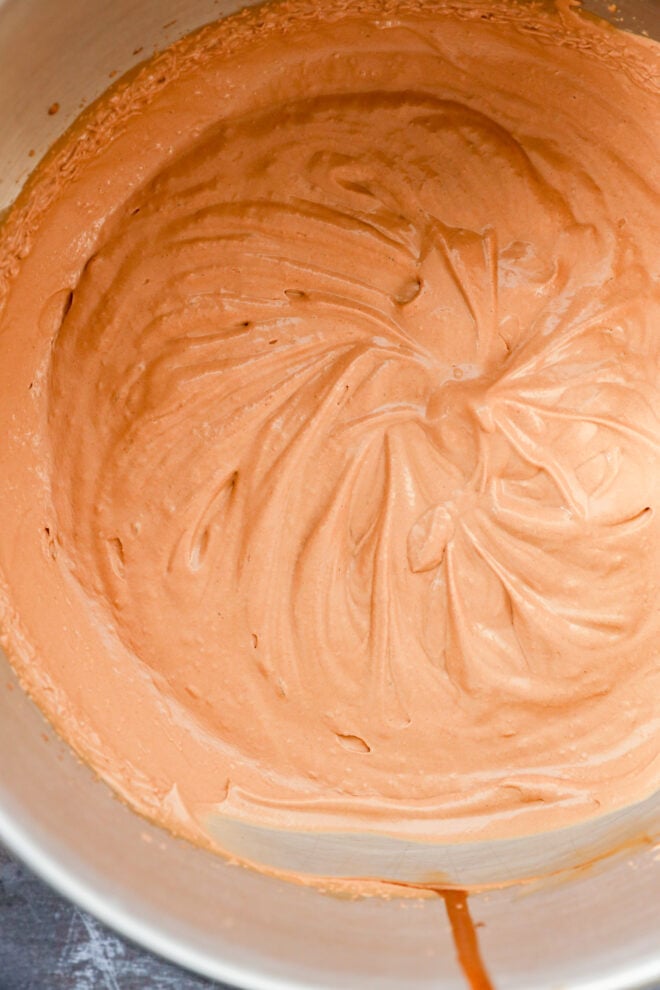
Once the chocolate base is completely cold, add the cold heavy whipping cream and vanilla extract. Using a stand mixer or hand mixer fitted with the whisk attachment, whip on medium-high speed for 3-4 minutes until medium peaks form. The mixture should be thick, airy, and hold its shape when you lift the whisk, but the peaks should slightly bend at the tip rather than standing straight up. Overwhipping to stiff peaks creates a denser, less creamy final ice cream.
Fold
Gently fold in the cocoa nibs using a spatula. Transfer the mixture to a freezer-safe container (a loaf pan works great). Drop spoonfuls of hot fudge sauce over the top and swirl lightly with a knife or butter knife. Don’t overmix the fudge in, you want distinct ribbons throughout.
Freeze
Smooth the surface and press plastic wrap directly onto the ice cream (this prevents ice crystals and freezer burn). Seal the container and freeze for at least 6 hours or overnight for the best texture. When ready to serve, let the ice cream sit at room temperature for 5 minutes so it softens just enough to scoop cleanly.
Tips for Success
- Sift the cocoa powder directly into the milk to help prevent lumps before cooking.
- Heat the chocolate base over low heat and remove it from the stove as soon as it begins to steam. There’s no need to boil it.
- Strain the warm chocolate base before chilling for the smoothest texture.
- Make sure the chocolate base is completely cold before adding the heavy cream. Warm ingredients won’t whip properly.
- Stop whipping at medium peaks. Going further can make the finished ice cream denser instead of creamy.
- Press plastic wrap directly onto the surface before freezing to help prevent ice crystals.
- If the ice cream is too firm to scoop, let it sit on the counter for about 5 minutes before serving.
variations
If you want even more chocolate in every bite, swirl extra store-bought hot fudge sauce into the ice cream before freezing. It creates ribbons of chocolate throughout each scoop without adding any extra work.
For an adults-only version, swap the regular hot fudge for Baileys Hot Fudge Sauce. It adds another layer of chocolate flavor with a subtle hint of Irish cream.
Looking for even more texture? Fold crushed Oreos, brownie chunks, or both into the ice cream along with the cocoa nibs and mini chocolate chips. Each mix-in gives the finished ice cream its own personality.
A teaspoon of espresso powder stirred into the chocolate base is another easy addition. It won’t make the ice cream taste like coffee, but it will deepen the chocolate flavor.
If you’re a fan of chocolate and peanut butter together, swirl creamy peanut butter through the mixture before freezing. The peanut butter softens slightly as the ice cream sits, making every scoop a little different.
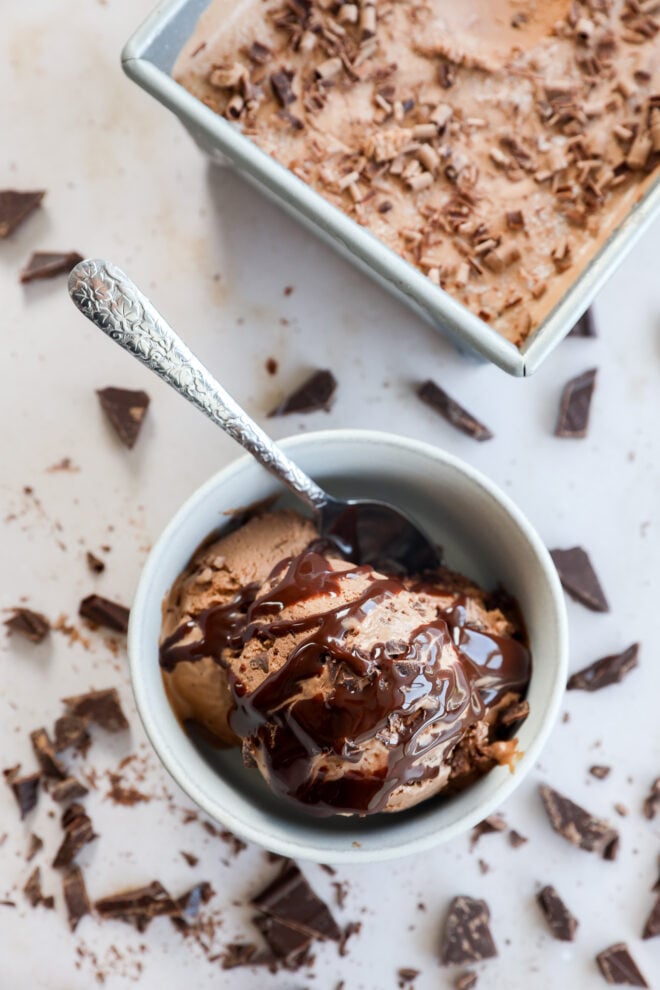
When it’s time to serve, top each scoop with whipped cream, extra mini chocolate chips, and another drizzle of hot fudge for an ice cream shop-style sundae.
More chocolate desserts to indulge in Triple Chocolate Brownies I Chocolate Bourbon Caramel Tart I Chocolate Covered Strawberry Brownies I chocolate stout cupcakes with chocolate bourbon frosting
faqs
Can I use natural cocoa powder instead of Dutch process cocoa?
Yes, but the flavor will be different. Dutch process cocoa gives the ice cream a darker color and a smoother, richer chocolate flavor. Natural cocoa powder will still work, but the chocolate won’t be quite as bold.
Do I need an ice cream maker?
No, this death by chocolate ice cream is completely no churn. A hand mixer or stand mixer does all the work of aerating the base, then the freezer finishes the job. It’s one of the easiest homemade ice cream recipes you can make.
How long will it keep?
For the best flavor and texture, enjoy it within two weeks. Keeping the container tightly covered with plastic wrap pressed directly onto the surface will help prevent ice crystals.
Why is my no churn ice cream icy?
Icy no churn ice cream usually comes from one of three things: (1) not whipping the cream long enough (it needs to hit medium peaks for enough air), (2) not pressing plastic wrap directly onto the surface before freezing (this prevents ice crystals), or (3) the chocolate base wasn’t cold enough when you added the cream. Follow these steps and your ice cream will be creamy and smooth.
Need more inspiration for a sweet treat? Check out my dessert recipes page!
what to serve with this Death By Chocolate Ice Cream
A drizzle of hot fudge sauce is always a classic finishing touch, adding even more chocolate to every scoop. For an adults-only dessert, try serving it with Baileys Hot Fudge Sauce instead.
Something fruity helps balance all that chocolate. This Smashed Raspberry Compote is a great option, or keep it simple with fresh raspberries or sliced strawberries.
For a little crunch, sprinkle crushed Oreos or waffle cone pieces over the top. If you’re serving dessert for a special occasion, pair a scoop with a warm brownie or slice of chocolate cake. Finish it with whipped cream and a cherry for a classic sundae.
How to Store Death by Chocolate Ice Cream
Freezer: Store this death by chocolate ice cream in an airtight freezer-safe container for up to 2 weeks. The texture and flavor are best within the first week.
Prevent ice crystals: Always press plastic wrap directly onto the surface of the ice cream before sealing the container. This creates a barrier that prevents ice crystals from forming.
Best storage location: Keep the container toward the back of the freezer, not on the door. The temperature is more consistent there, which keeps your ice cream from developing ice crystals from constant thawing and refreezing.
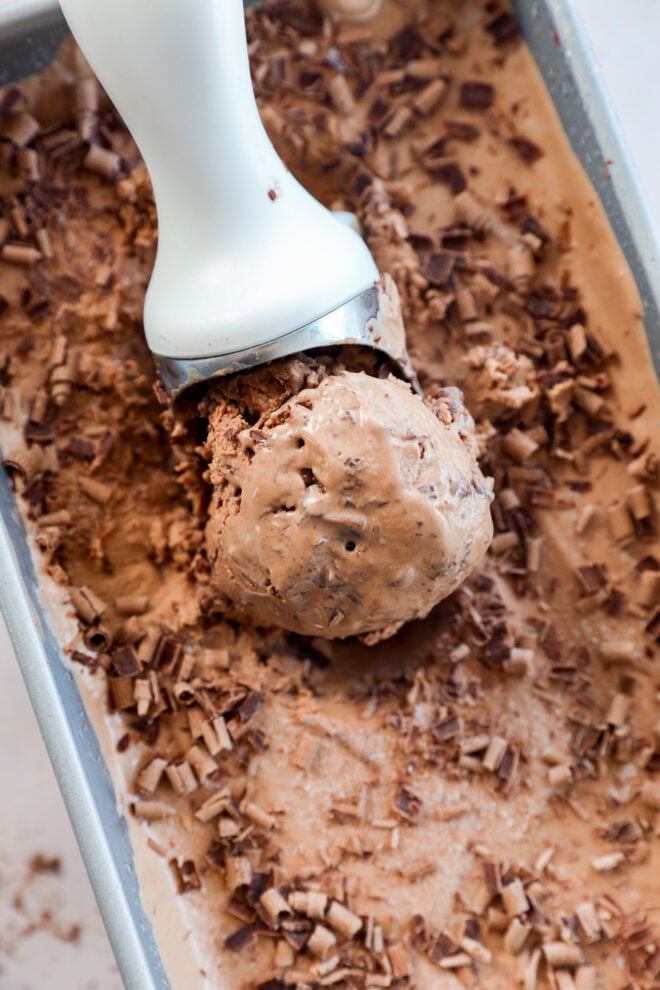
Serving: If the ice cream is too firm to scoop straight from the freezer, let it sit at room temperature for 5 minutes to soften just enough for clean scoops.
More no-churn ice cream recipes
If you enjoyed this Death By Chocolate Ice Cream, there are plenty more frozen desserts to try.
This No Churn Key Lime Pie Ice Cream is bright and creamy for summer, while Oreo Ice Cream is packed with cookies in every bite.
For a seasonal favorite, make a batch of Caramel Apple Ice Cream when apples are in season.

everyday seasonal cookbook
With seasonal produce guides, recipes, and more, this cookbook is filled with seasonal food for every occasion.
Finally, if you make this dealth by chocolate ice cream recipe, please be sure to give this recipe a star recipe rating on the recipe card and/or leave a comment! I love to hear when you all make recipes, and I do take the time to respond to every single comment.
Feel free to drop questions below too, if you have them!
Oh and be sure to tag me on Instagram, Facebook, or Pinterest if you make the recipe! I love being able to see these recipes come to life in your homes – it’s my favorite thing to look through those photos. It really means the world to me!
Want to know when I come out with a new recipe or the latest news? Sign up for my newsletter to get them straight to your inbox!
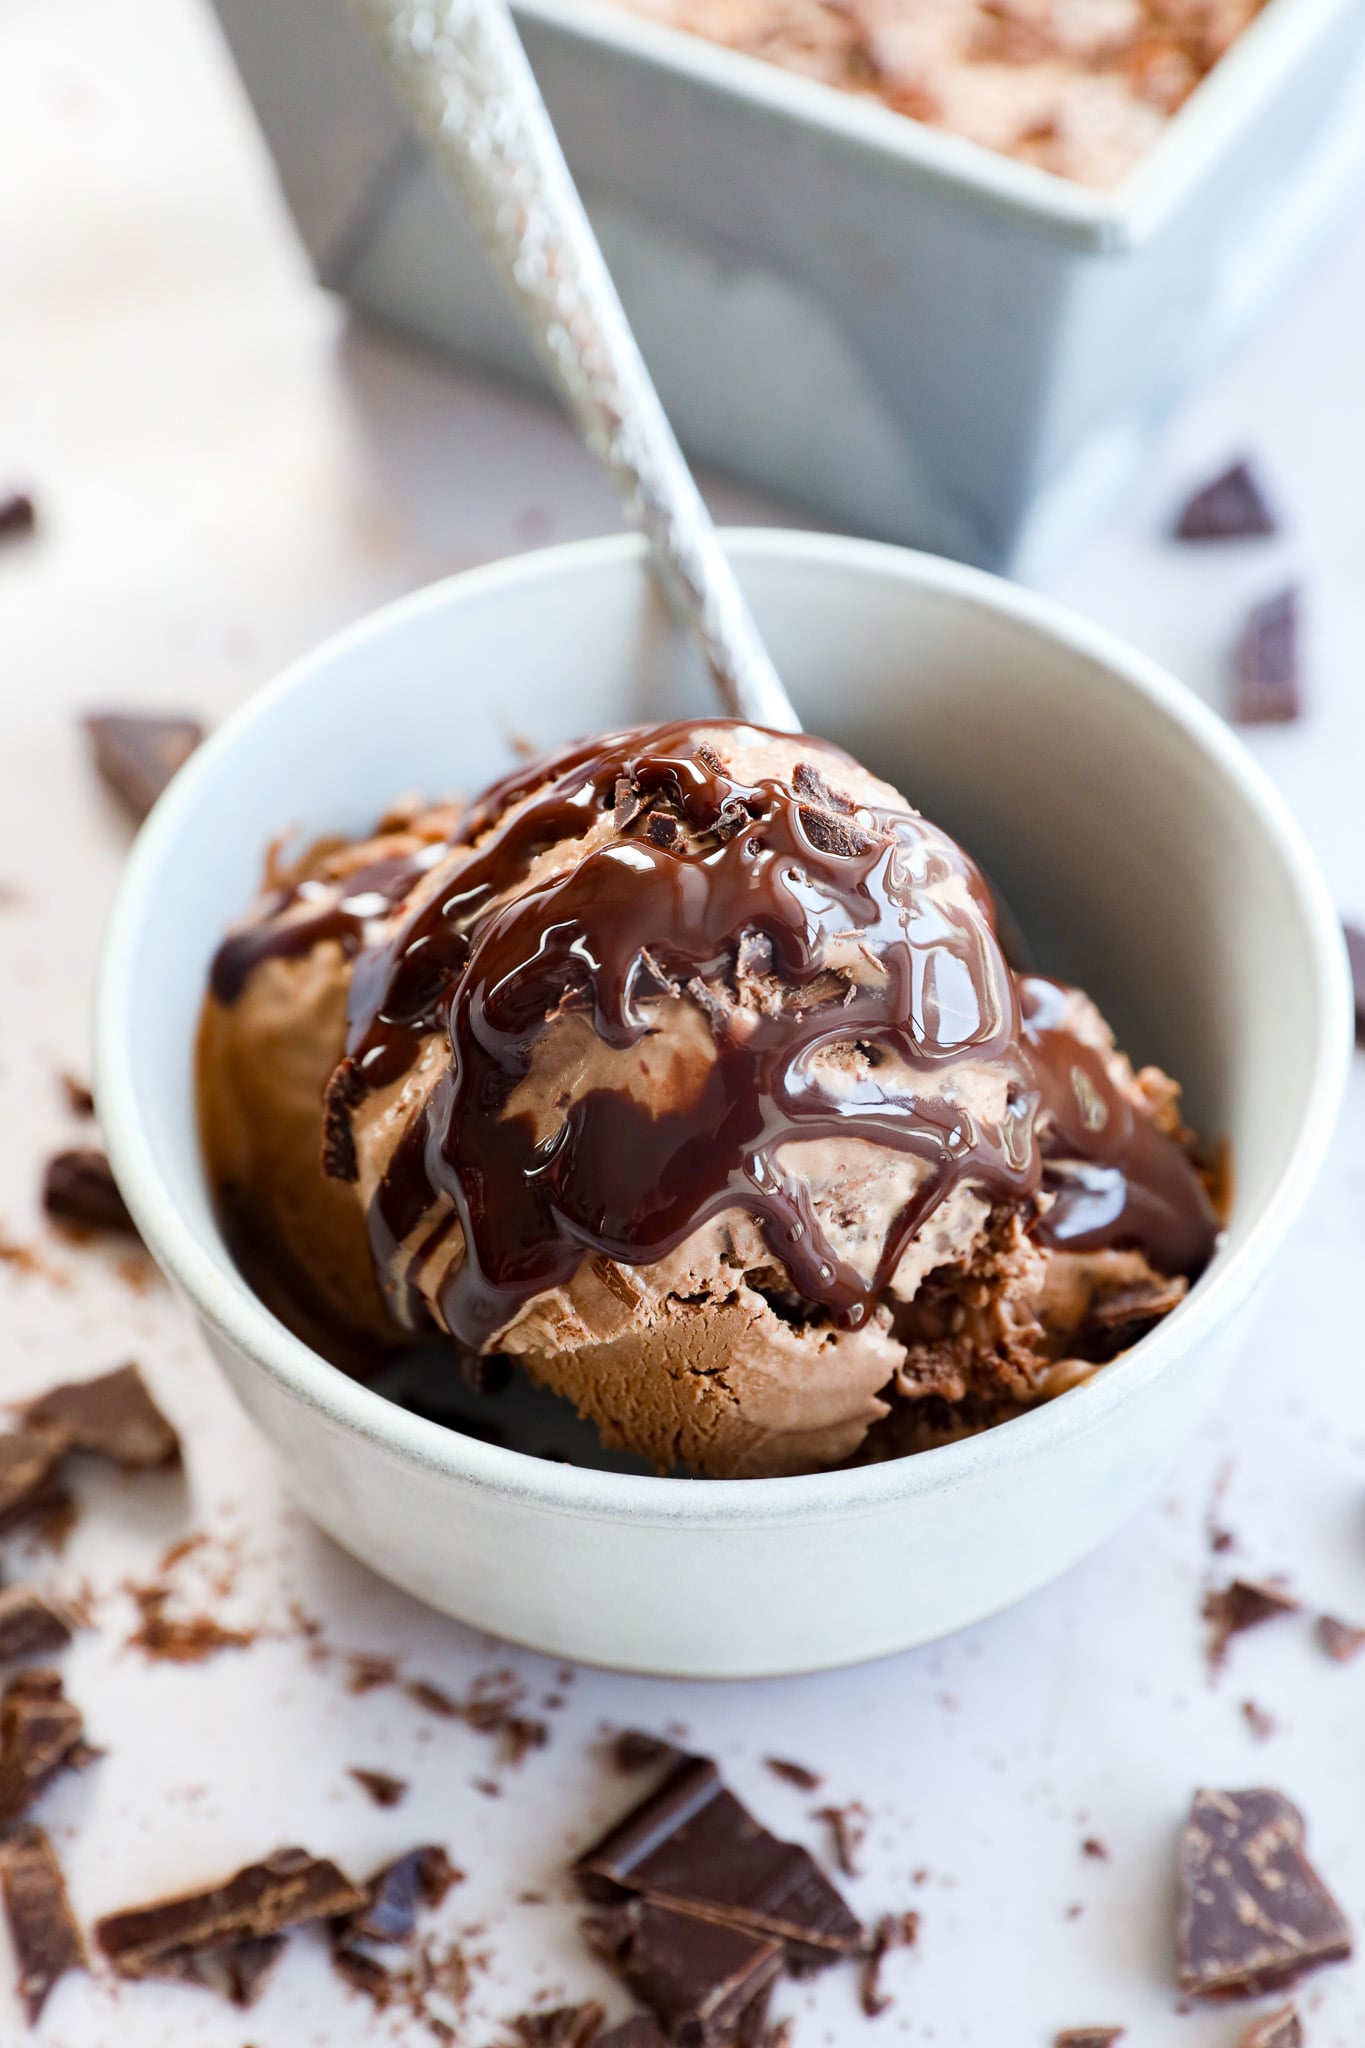
Death By Chocolate Ice Cream
equipment
- small saucepan
- Fine mesh sieve
- Stand mixer or hand mixer with whisk attachment
- Airtight freezer-safe container
- plastic wrap
ingredients
- ⅔ cup dutch process cocoa powder
- ½ cup whole milk
- 14 oz can sweetened condensed milk
- 2 cups heavy whipping cream cold
- ¼ tsp fine sea salt just a pinch if using table salt
- 2 tsp pure vanilla extract
- ½ cup mini chocolate chips
- Hot fudge sauce for serving store-bought, or Baileys Hot Fudge Sauce for an adult version
instructions
- Add the milk to a small saucepan and sift the cocoa powder over it. Add the sweetened condensed milk and salt and cook over low heat, whisking continuously, until smooth and the mixture just starts to steam. Do not boil.
- Remove from heat and pour through a fine mesh sieve into a bowl to catch any lumps. Place in the refrigerator to chill for 2 hours. To speed this up, place in the freezer for 20 minutes — stir at the 10 minute mark and make sure it doesn’t freeze solid.
- Once the chocolate base is fully cold, pour in the cold heavy cream and vanilla extract.
- Using a hand mixer or a stand mixer fitted with the whisk attachment, whip the mixture to medium peaks. The mixture should be thickened, airy, and hold its shape without being stiff.
- Fold in the mini chocolate chips. Pour into an airtight freezer-safe container and use a spatula to smooth the top.
- Smooth the surface and press plastic wrap directly onto the ice cream before sealing. Freeze for at least 6 hours or overnight.
- When ready to serve, let the ice cream sit at room temperature for 5 minutes if it’s too firm to scoop. Serve with extra hot fudge sauce drizzled on top.
video
notes
- Dutch process cocoa is the key to the deep, dark chocolate flavor. Natural cocoa powder can be substituted, but the flavor won’t be quite as rich.
- Make sure the heavy cream is cold straight from the refrigerator before whipping. Cold cream whips much better than cream that’s been sitting out.
- If you’re using the freezer to chill the chocolate base, stir it after about 10 minutes. You want it cold, not frozen.
- Press plastic wrap directly onto the surface before sealing the container to help prevent ice crystals.
- Store-bought hot fudge works well, but Baileys Hot Fudge Sauce is a great option for an adults-only version.
- Store covered in the freezer for up to 2 weeks for the best texture and flavor.
nutrition

about meghan
Meghan Yager is the recipe developer, food photographer, and creative force behind Cake ‘n Knife, where everyday moments are celebrated with bold, flavor-forward recipes. From cozy cocktails to bold appetizers and indulgent desserts, her approachable style brings people together around food worth sharing. Meghan’s work has been featured by Good Housekeeping, Oprah Daily, Today, Woman’s Day, and The Huffington Post. She lives in Denver, where she brings big flavor and a little sass to every bite.