Please note this post contains affiliate links.
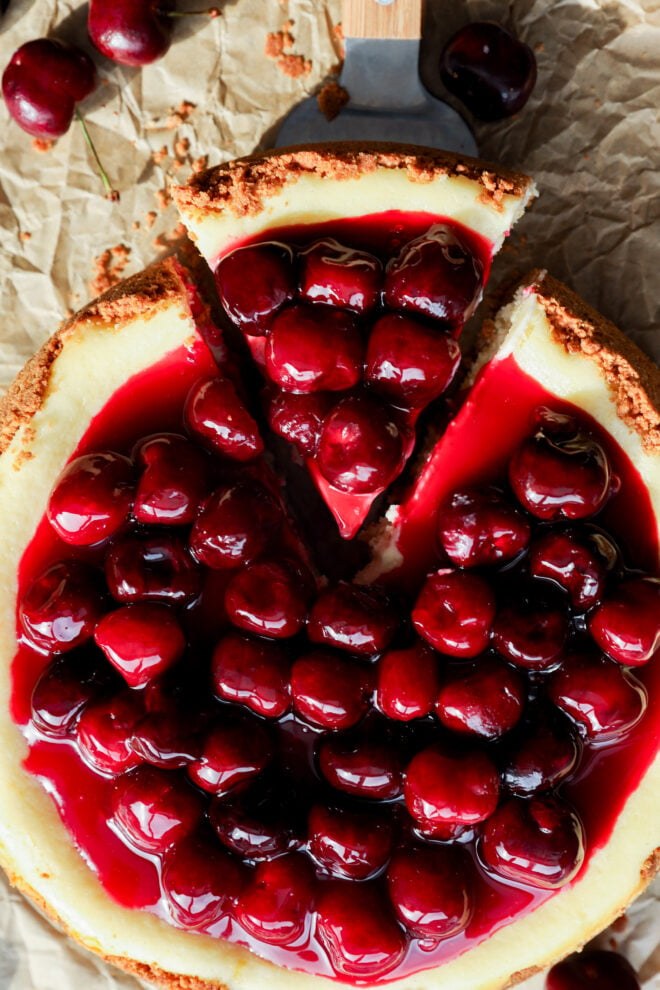
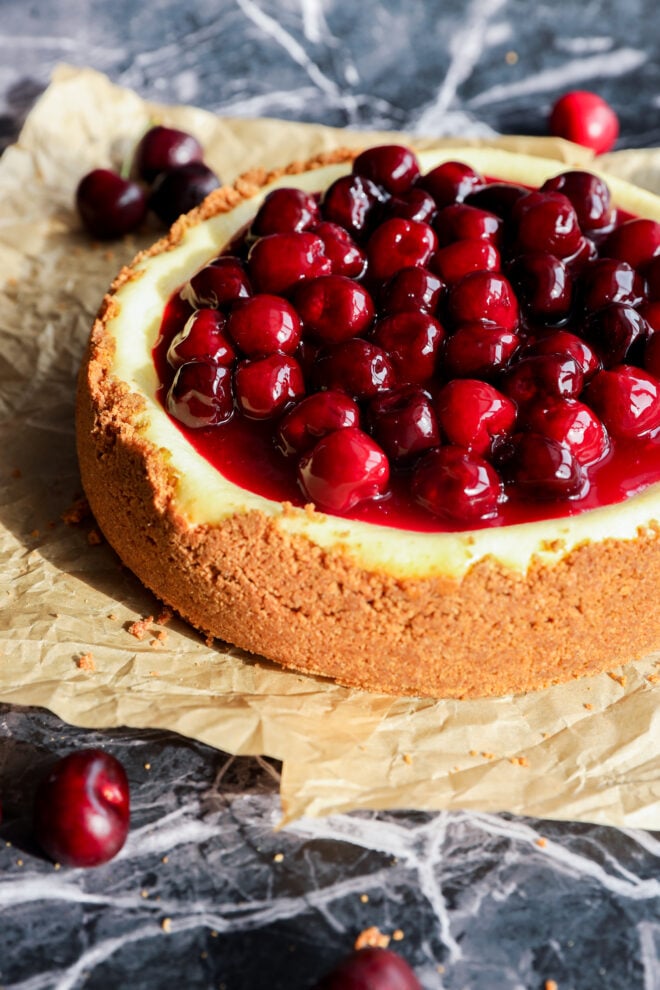
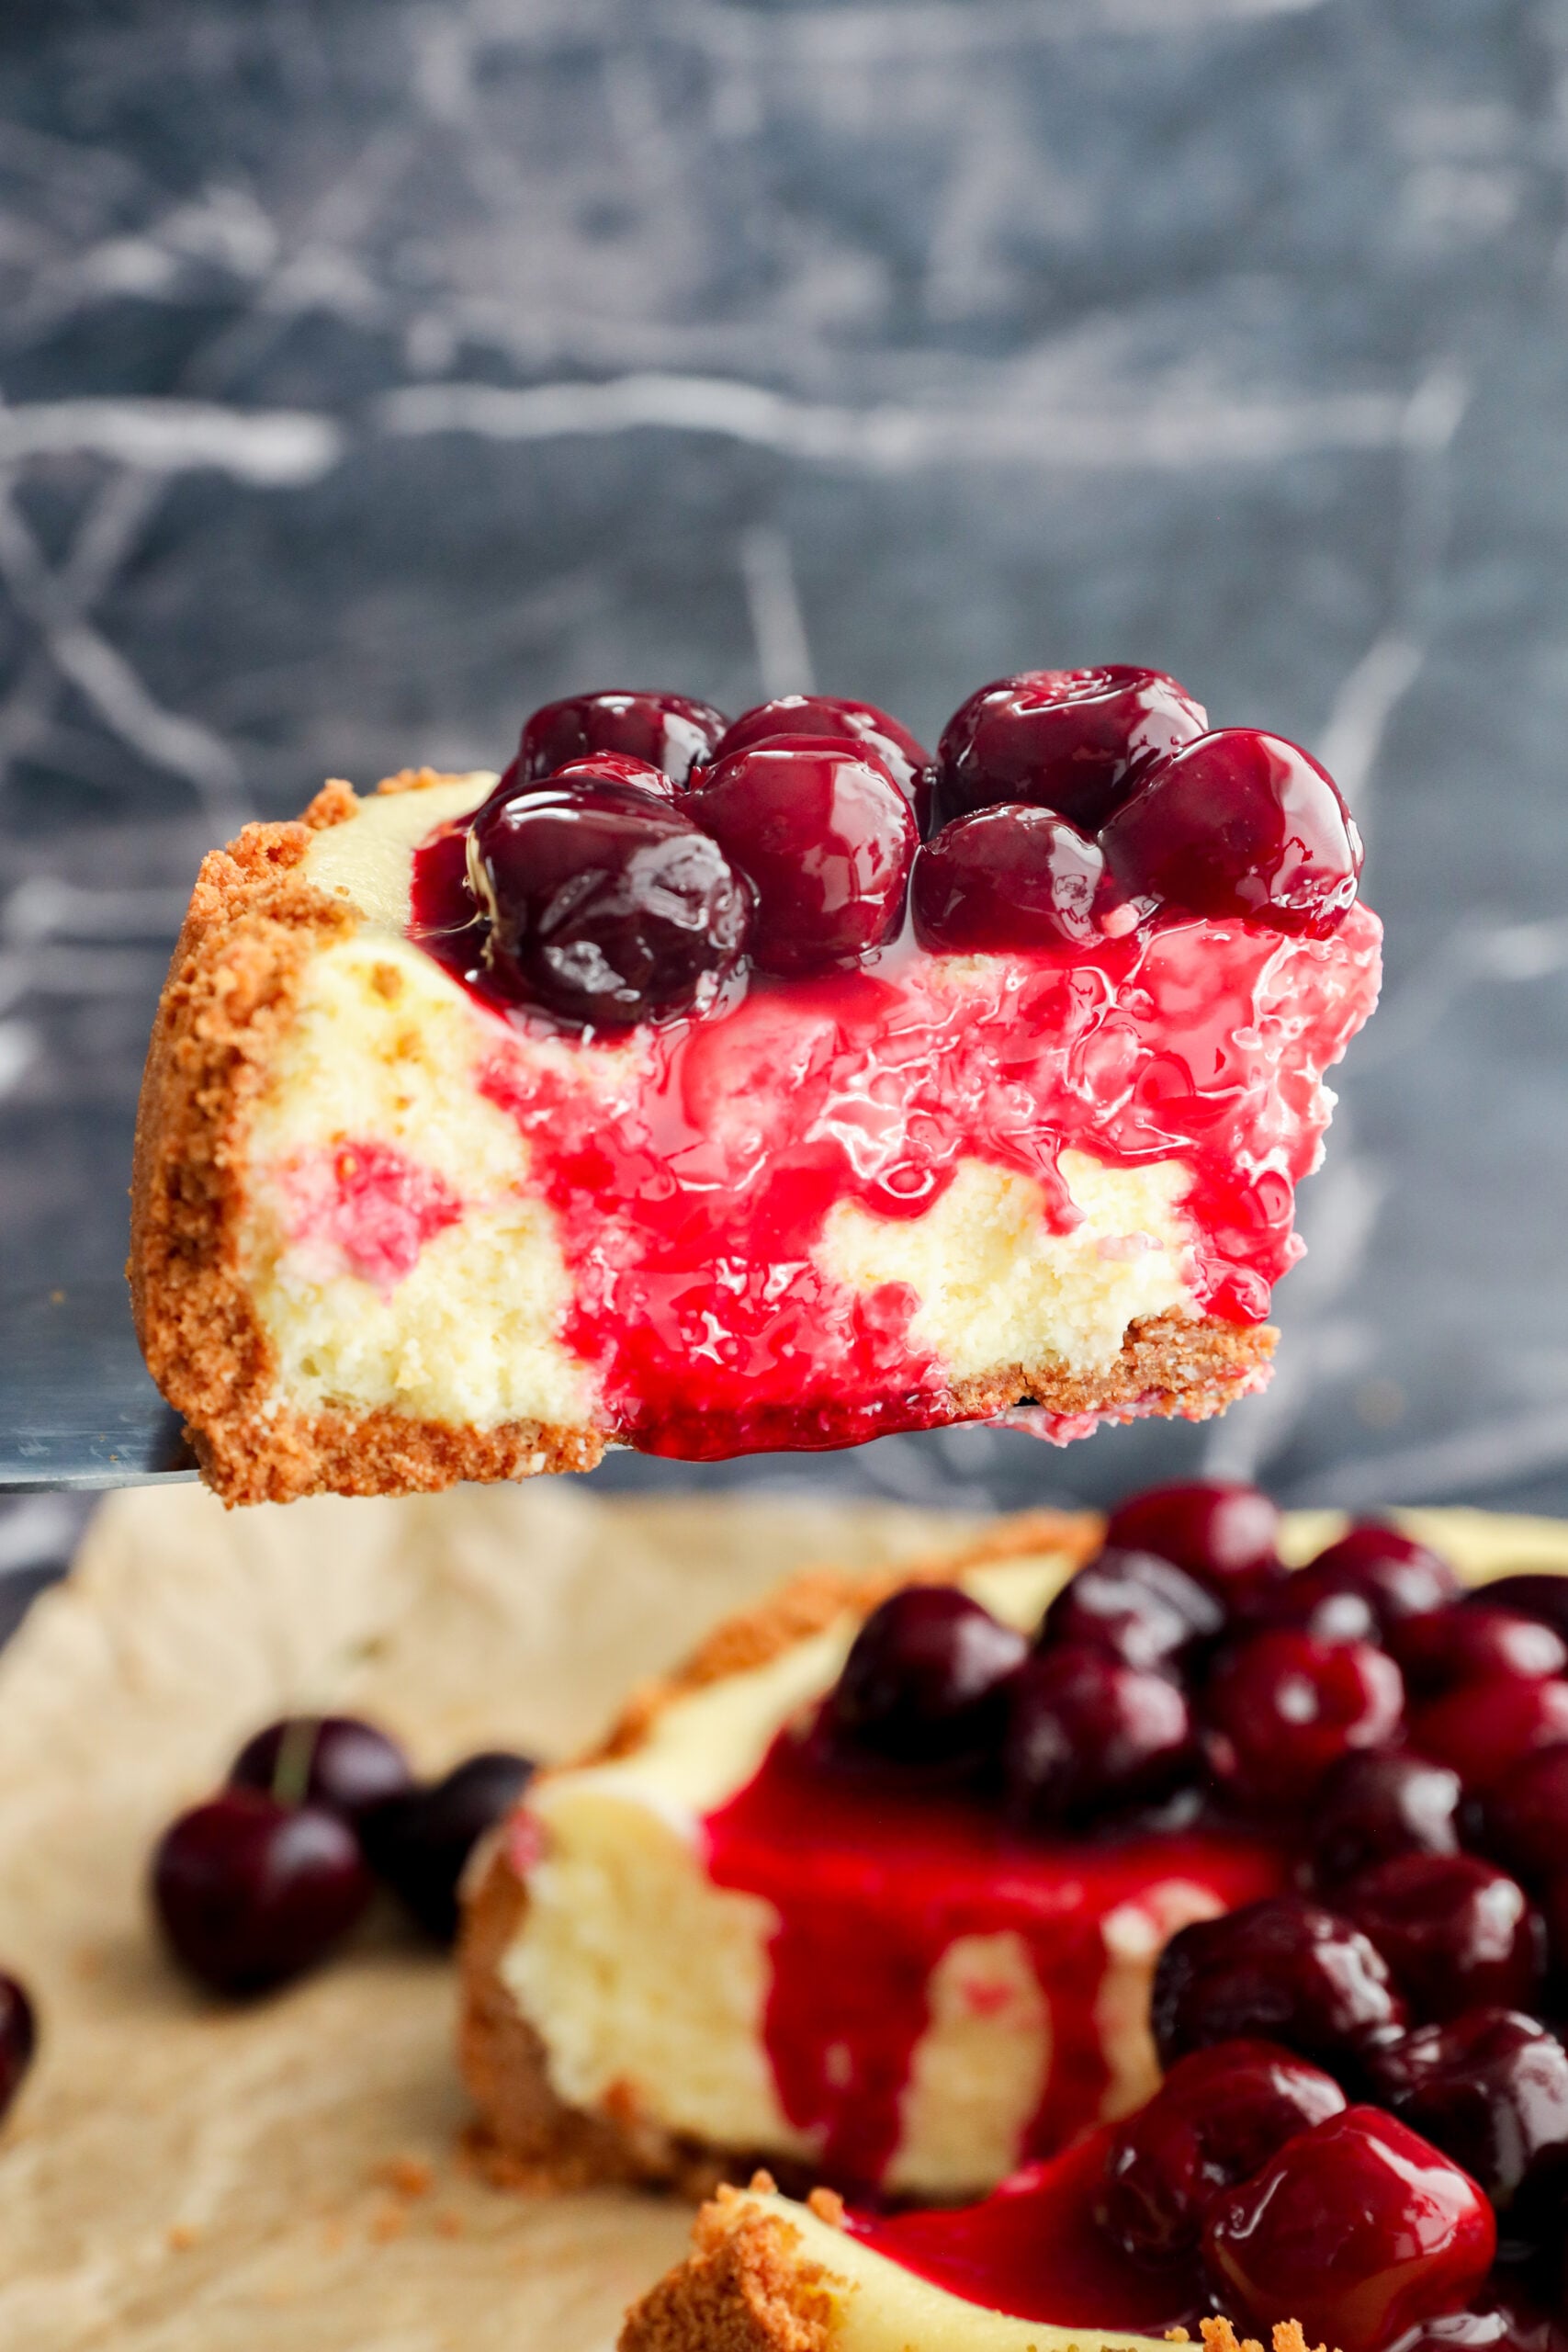
This cherry cheesecake recipe features a creamy, dense filling on a buttery graham cracker crust, topped with a glossy fresh cherry sauce that tastes nothing like the canned pie filling you grew up with. The homemade cherry topping is made with ripe black cherries cooked down until it’s jammy and naturally sweet. Make it ahead for dinner parties, holidays, or any time cherries are in season.
About This Cherry Cheesecake recipe
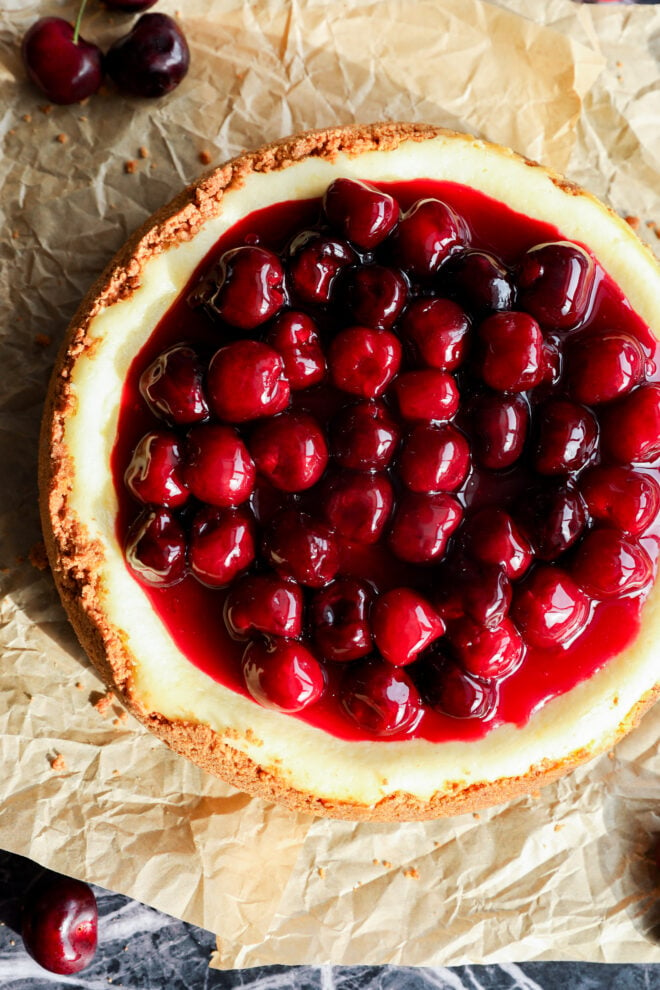
If you grew up eating cherry cheesecake topped with that bright red canned filling, this fresh cherry cheesecake is going to feel like a completely different dessert. The homemade cherry topping uses ripe black cherries cooked down with lemon juice and a little sugar until it’s glossy and jammy. It tastes like actual cherries (fresh, balanced, slightly tart) instead of that overly sweet syrup that comes in a can.
The cherry cheesecake filling is dense, ultra-creamy, and rich without feeling heavy. It sits on a buttery graham cracker crust that bakes up crisp and golden. Baking low and slow at 300°F is what creates that smooth, bakery-style texture with an even top and no cracks. This is the technique professional bakeries use, and it works just as well at home.
Bonus: there’s no water bath to deal with!
I’ve made this cherry cheesecake recipe more times than I can count, and there are three details that make all the difference: room temperature cream cheese (cold cream cheese = lumps you can’t fix), adding eggs one at a time on low speed (too much air = cracks on top), and pulling it from the oven when the center still has a gentle Jell-O-like jiggle. The center will keep cooking as it cools and the texture will be perfect.
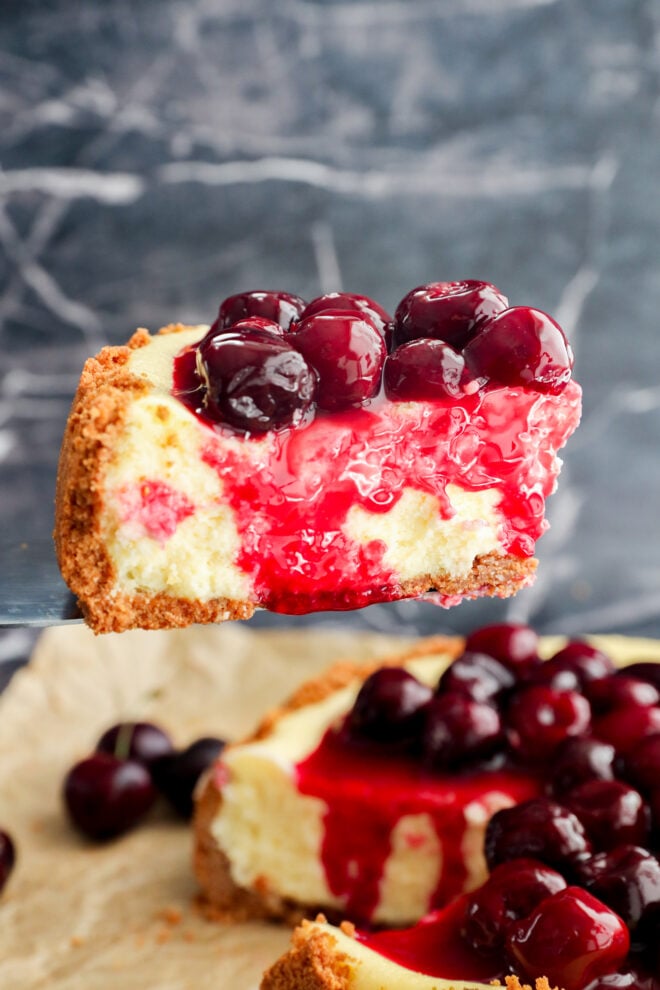
Another reason to love this cherry cheesecake recipe is that it actually improves overnight. After a long chill in the refrigerator, the filling firms up into those clean, creamy slices every homemade cheesecake should have. It’s an ideal make-ahead dessert for holidays, dinner parties, or peak cherry season gatherings.
Why You’ll Love This Recipe
- The fresh cherry topping tastes bright and naturally fruity instead of overly sweet.
- Baking low and slow helps create a smooth cheesecake with fewer cracks.
- The filling is rich, dense, and incredibly creamy.
- It can be made ahead for stress-free entertaining.
- The buttery graham cracker crust adds the right amount of crunch.
- This classic cheesecake recipe slices beautifully after chilling overnight.
- Fresh cherry topping works with both sweet black cherries and tart sour cherries.
- It feels bakery-worthy while still being approachable for home bakers.
key ingredients
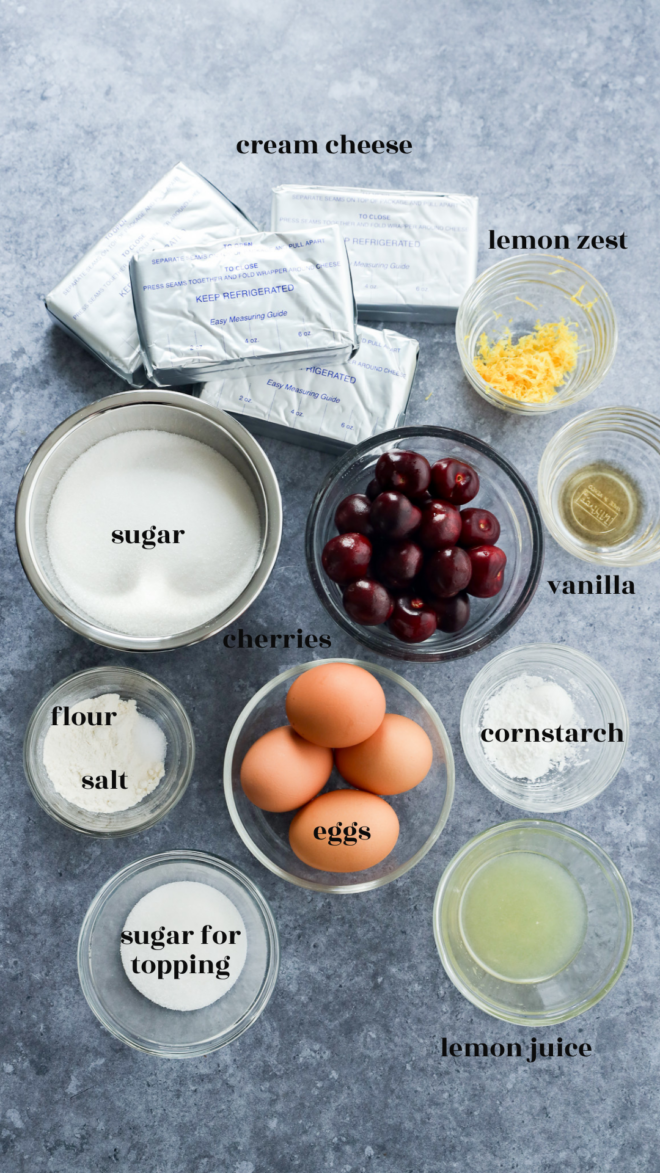
Graham cracker crumbs. Use finely crushed graham crackers for a crust that presses together evenly and holds its shape when sliced. Honey graham crackers add a slightly deeper flavor that works especially well in this cherry cheesecake recipe.
Brown sugar. Brown sugar gives the crust a subtle caramel flavor that pairs nicely with the creamy filling. Light or dark brown sugar both work, depending on how rich you want the crust to taste.
Unsalted butter. Melted butter binds the crust together and helps it bake up crisp and golden. If using salted butter, reduce added salt elsewhere in the recipe.
Cream cheese. Use full-fat block cream cheese (not the spreadable kind in tubs) for the best cherry cheesecake texture. Let it sit on the counter for at least 2 hours before mixing, until it’s completely softened. Cold cream cheese creates lumps that won’t smooth out no matter how long you beat it. This is the #1 most important rule for cheesecake.
Vanilla extract and lemon zest. Vanilla adds warmth while lemon zest brightens the rich filling and complements the fresh cherries beautifully. Fresh lemon zest gives the best flavor.
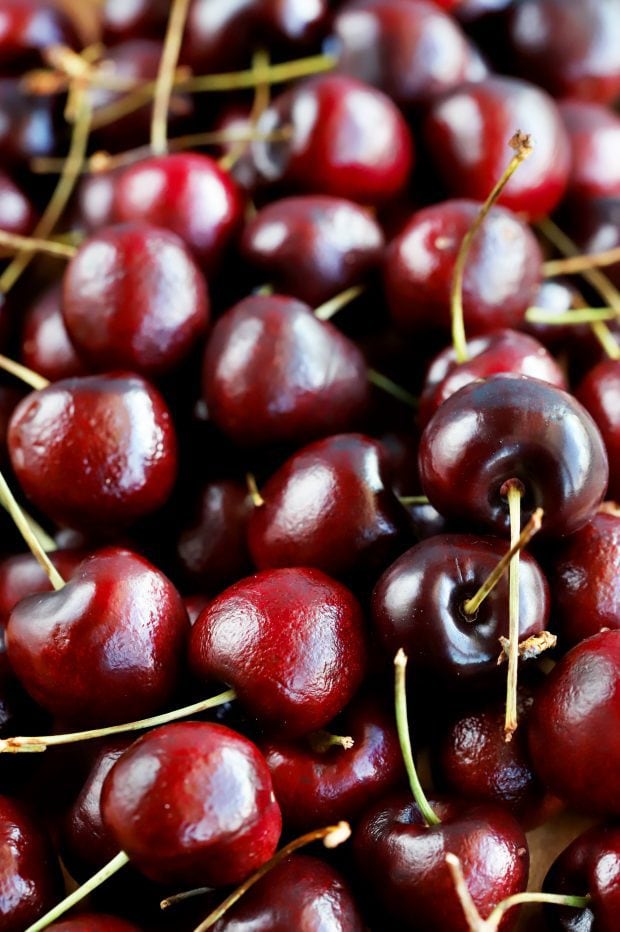
Fresh black cherries. Fresh cherries are what set this fresh cherry cheesecake apart from versions made with canned topping. Use ripe, dark cherries for the sweetest flavor and richest color.
Lemon juice and granulated sugar. Lemon juice keeps the cherry topping bright and balanced while sugar enhances the natural fruit flavor. Together, they create a fresh sauce that tastes vibrant instead of overly sweet.
Cornstarch. Cornstarch thickens the cherry topping into a glossy sauce that sits beautifully over the cheesecake. Stir continuously while cooking so the sauce stays smooth and lump-free.
this recipe’s must-haves
A 10-inch springform pan is essential for getting clean cheesecake removal without damaging the crust or filling. Lining the bottom with parchment paper makes serving even easier and helps prevent sticking.
A stand mixer with a paddle attachment makes it much easier to achieve a completely smooth filling without overmixing. The paddle incorporates ingredients gently while keeping too much air out of the batter.
For the cherry topping, a cherry pitter saves time during prep, especially when cherries are in peak season. If you do not have one, a small sharp knife works just fine with a little patience.
A small saucepan and a heat-safe jar or bowl are also important for making and cooling the topping properly. Cooling the topping completely before adding it to the cheesecake helps maintain the clean texture of the filling.
how to make this cherry cheesecake (step-by-step)
Prep
Preheat the oven to 375°F. Line the bottom of a 10-inch springform pan with parchment paper and lightly spray with cooking spray. In a medium bowl, stir together the graham cracker crumbs, brown sugar, and melted butter until evenly moistened—it should hold together when you squeeze a handful. Press the mixture firmly into the bottom and about 2 inches up the sides of the pan. Use the bottom of a measuring cup to press it down evenly.
Bake
Bake the crust for 9-12 minutes until the edges are deeply golden brown and your kitchen smells like graham crackers. Cool completely while you make the filling, about 20-30 minutes. The crust must be fully cooled before adding the filling or it will get soggy.
Mix
In a stand mixer fitted with the paddle attachment, beat the room-temperature cream cheese, flour, and salt on medium speed for 5 full minutes until completely smooth and fluffy with NO lumps remaining. Scrape down the sides of the bowl a couple of times during mixing. This is your only chance to get the lumps out. Once you add the eggs, you can’t fix them. Add the sugar, vanilla extract, and lemon zest and mix until combined.
Reduce the mixer speed to LOW. Add the eggs one at a time, mixing just until each one is incorporated before adding the next. Stop the mixer as soon as the last egg disappears into the batter. Pour the filling into the cooled crust and smooth the top with an offset spatula.
Bake
Bake the cherry cheesecake at 300°F for 55-65 minutes. The edges should look set and slightly puffed, while the center (about a 3-inch circle) should still wobble like Jell-O when you gently shake the pan. It will look underdone and this is correct. The cheesecake continues cooking as it cools, and the center sets up perfectly. Cool completely at room temperature (about 2-3 hours), then refrigerate for at least 8 hours or up to 3 days before serving.
Simmer
Remove from heat and pour the cherry topping into a heat-safe bowl or jar. Cool completely to room temperature before spooning over the chilled cherry cheesecake just before serving. If the topping is warm it will melt the top of the cheesecake.
Tips for Success
- Bring all ingredients to room temperature before starting for the smoothest filling.
- Beat the cream cheese mixture thoroughly before adding sugar or eggs to eliminate lumps.
- Mix the eggs in gently and only until combined to help prevent cracks.
- Let the crust cool fully before pouring in the cheesecake batter.
- The cheesecake should still jiggle slightly in the center when removed from the oven.
- Cool the cheesecake completely at room temperature before refrigerating.
- Chill overnight for the cleanest slices and best texture.
- Stir the cherry topping continuously after adding cornstarch to prevent clumps.
- Run a knife around the edge of the pan before releasing the springform to prevent tearing.
variations
Using sour cherries instead of black cherries gives the topping a brighter, tangier flavor that balances the rich filling beautifully. This version feels especially nostalgic and works well if you prefer less sweetness.
You can also swap the cherry topping for fresh strawberry sauce or blueberry sauce, depending on the season. The cheesecake base works well with almost any fruit topping.
For a deeper flavor, stir a splash of bourbon into the cherry topping while it cooks. The bourbon pairs especially well with dark cherries and adds warmth without overpowering the fruit.
Changing the crust is another easy variation. Chocolate graham crackers or crushed Oreos create a richer base that tastes incredible with cherries.
Adding a little almond extract alongside the vanilla gives the filling a subtle bakery-style flavor that complements cherries especially well.
More Cherry Recipes: Nutella Cherry Tart I Brandy Cherry Galette I Bourbon Cherry Peach Crumble I Homemade Brandy Cherries
faqs
How do I prevent cracks in cheesecake?
Cracks in cherry cheesecake usually come from one of four things: cold ingredients (cream cheese must be fully softened), overmixing (especially after adding eggs and beating on too high of a setting), too-hot oven (300°F is correct, anything higher causes cracking), or sudden temperature changes (don’t open the oven during baking, and cool the cheesecake gradually at room temperature before refrigerating). Follow these rules and you’ll get a smooth top every time.
How do I know when cheesecake is done baking?
The edges should look set while the center still has a gentle Jell-O-like jiggle when the pan is lightly shaken.
Can I use frozen cherries?
Yes, frozen cherries work in this cherry cheesecake topping, but fresh are better when they’re in season. If using frozen, thaw them completely in a colander to drain off excess liquid, then pat them dry with paper towels before cooking. You may need to cook the topping a few minutes longer to thicken since frozen cherries release more water. Avoid the canned cherry pie filling.
Can I make cherry cheesecake ahead of time?
Yes! Cherry cheesecake is actually a perfect make-ahead dessert. Bake the cheesecake up to 3 days before serving and keep it covered in the refrigerator. The cherry topping can be made up to 5 days ahead and stored separately in the fridge. Add the topping just before serving for the best texture and appearance.
Need more inspiration for a sweet treat? Check out my dessert recipes page!
what to serve with this cheesecake
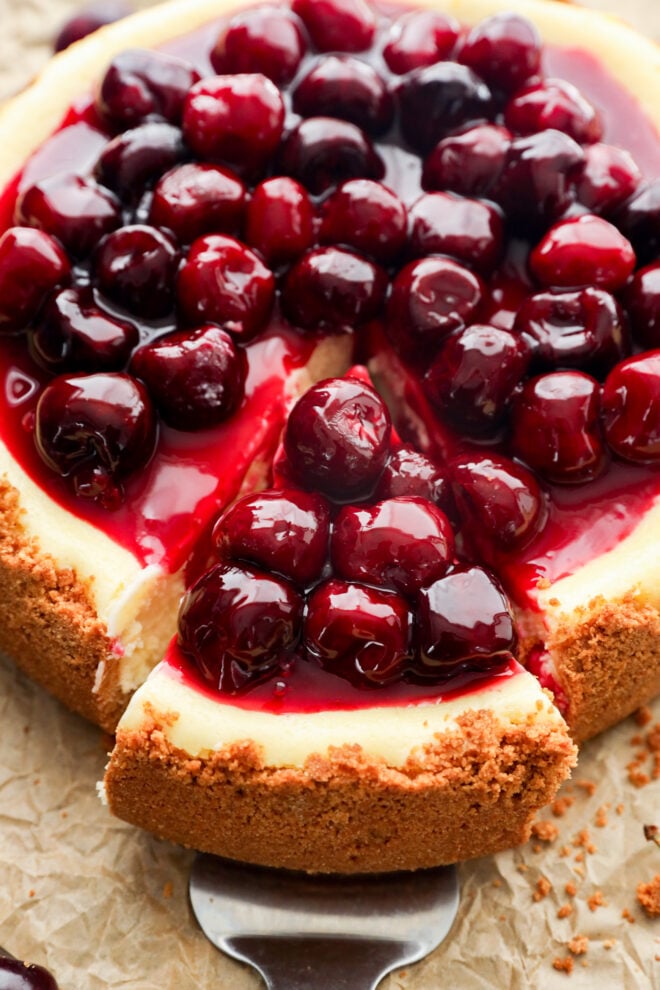
A few extra fresh cherries on the side make this classic cheesecake feel especially seasonal and elegant. A dollop of lightly whipped cream also pairs beautifully with the rich filling and glossy cherry topping.
For drinks, serve this cherry cheesecake with coffee, espresso, or even a small glass of dessert wine. The richness of the cheesecake balances nicely with bold coffee flavors.
If you want to build out a dessert spread, pair it with lighter fruit desserts or chocolate treats. Something crisp and buttery alongside the creamy cheesecake creates a great contrast.
How to Store
Refrigerate: Store leftover cherry cheesecake covered tightly in the refrigerator for up to 5 days. For the best texture, store the cherry topping separately and add it to individual slices when serving.
Make ahead: Bake the cheesecake up to 3 days before serving and keep it covered in the fridge. Make the cherry topping up to 5 days ahead and store separately.
Freeze: Freeze plain cherry cheesecake (without the topping) for up to 2 months. Wrap tightly in plastic wrap and then aluminum foil, or place in an airtight container. Thaw overnight in the refrigerator before adding the topping and serving
Cherry topping: Store the cherry topping in an airtight container in the refrigerator for up to 5 days. It can also be frozen for up to 3 months.
more of our favorite Cheesecake Recipes
This rich Toblerone Cheesecake is loaded with chocolate flavor and topped with chunks of Toblerone candy for an extra decadent dessert. It’s a great option when you want something rich and chocolate-forward.
For something brighter and more seasonal, this Lemon Blueberry Cheesecake combines fresh citrus flavor with juicy blueberries in a creamy cheesecake filling. It’s especially good for spring and summer gatherings.
Berry lovers will also enjoy this creamy Triple Berry Cheesecake, packed with layers of berry flavor throughout. The combination of strawberries, blueberries, and raspberries makes it colorful and perfect for entertaining.

the secret to cocktails everyone will ask about
A juicy free guide to the brightest fruits, fresh herbs, and easy upgrades for summer cocktails. Plus a mix-match-muddle chart with combos that taste like summer.
Finally, if you make this cherry cheesecake recipe, please be sure to give this recipe a star recipe rating on the recipe card and/or leave a comment! I love to hear when you all make recipes, and I do take the time to respond to every single comment.
Feel free to drop questions below too, if you have them!
Oh and be sure to tag me on Instagram, Facebook, or Pinterest if you make the recipe! I love being able to see these recipes come to life in your homes – it’s my favorite thing to look through those photos. It really means the world to me!
Want to know when I come out with a new recipe or the latest news? Sign up for my newsletter to get them straight to your inbox!
Cherry Cheesecake
equipment
- 10-inch springform pan
- parchment paper
- Stand mixer with paddle attachment
- Cherry pitter (or a sharp knife and patience)
- Small saucepan for the cherry topping
- Heat-safe jar or bowl for cooling the topping
ingredients
- 8 oz graham cracker crumbs 2 cups
- 3 Tbsp brown sugar
- 7 Tbsp unsalted butter melted
- 4 cream cheese, room temperature 8 oz packages
- 2 Tbsp all-purpose flour
- Pinch salt
- 1¼ cups granulated sugar
- 1 Tbsp vanilla extract
- 1 Tbsp lemon zest
- 4 large eggs room temperature
- ½ lb fresh black cherries pitted
- 2 Tbsp granulated sugar
- Juice of 1 large lemon
- 1½ tsp cornstarch
instructions
- Preheat oven to 375°F. Line the bottom of a 10-inch springform pan with parchment paper and spray the bottom and sides with cooking spray.
- In a medium bowl, stir together the graham cracker crumbs, brown sugar, and melted butter until well combined. Press the mixture firmly into the bottom and up the sides of the pan about 2 inches.
- Bake the crust for 9–12 minutes until golden and fragrant. Remove from the oven and let cool completely. Lower the oven temperature to 300°F.
- In a stand mixer fitted with the paddle attachment, beat the cream cheese, flour, and salt on medium speed for about 5 minutes until completely smooth and fluffy with no lumps remaining.
- Add the sugar and mix until combined. Add the vanilla and lemon zest and stir until incorporated.
- With the mixer on low, add the eggs one at a time, mixing just until combined after each addition. Do not overbeat.
- Pour the filling into the cooled crust and smooth the top with a spatula.
- Bake at 300°F for 55–65 minutes, until the edges are set and the center has a slight Jell-O-like jiggle when gently shaken. Do not overbake.
- Transfer to a wire rack and cool completely to room temperature. Once cooled, refrigerate for at least 8 hours or up to 3 days before serving.
- While the cheesecake chills, make the cherry topping. Pit the cherries and leave whole, or halve and remove pits if you don’t have a cherry pitter. Combine the cherries, sugar, and lemon juice in a small saucepan over medium-low heat. Cook for about 5 minutes, stirring occasionally, until the cherries soften slightly.
- Add the cornstarch and stir continuously for another 2–3 minutes until the sauce thickens and turns glossy. Remove from heat, stir for a few more seconds, and pour into a heat-safe jar or bowl. Cool completely to room temperature.
- Spread the cherry topping over the chilled cheesecake just before serving. Keep refrigerated until ready to slice.
video
notes
- Room temperature ingredients are essential for a smooth cheesecake filling.
- No cherry pitter? Halve the cherries and remove the pits with a small knife.
- Avoid overbeating the eggs to help prevent cracks.
- Cheesecake can be made up to 3 days ahead.
- The cherry topping can be stored separately for up to 5 days.
- Wipe the knife clean between slices for neat presentation.
nutrition

about meghan
Meghan Yager is the recipe developer, food photographer, and creative force behind Cake ‘n Knife, where everyday moments are celebrated with bold, flavor-forward recipes. From cozy cocktails to bold appetizers and indulgent desserts, her approachable style brings people together around food worth sharing. Meghan’s work has been featured by Good Housekeeping, Oprah Daily, Today, Woman’s Day, and The Huffington Post. She lives in Denver, where she brings big flavor and a little sass to every bite.