
Pavlova was one of my favorite desserts growing up. Both my mom and grandma made it perfectly (I was very spoiled) and it was something I would look forward to in the summer.
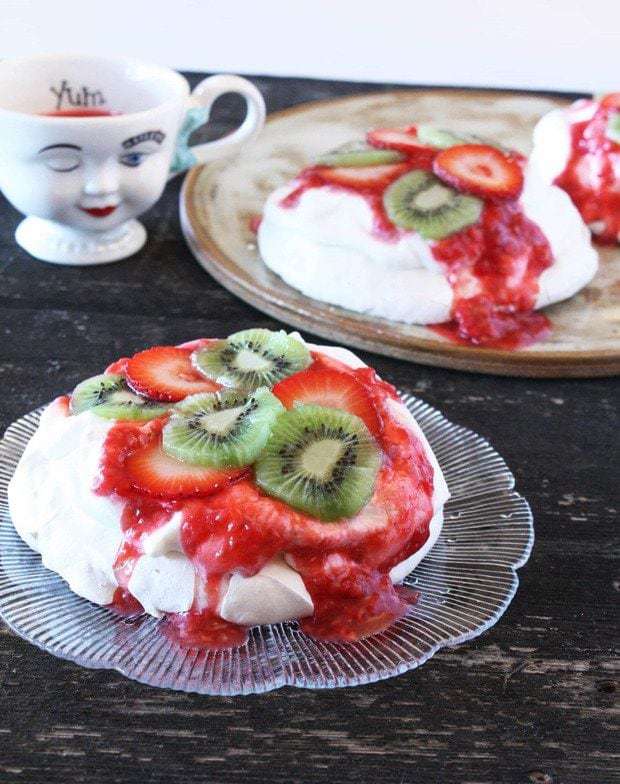
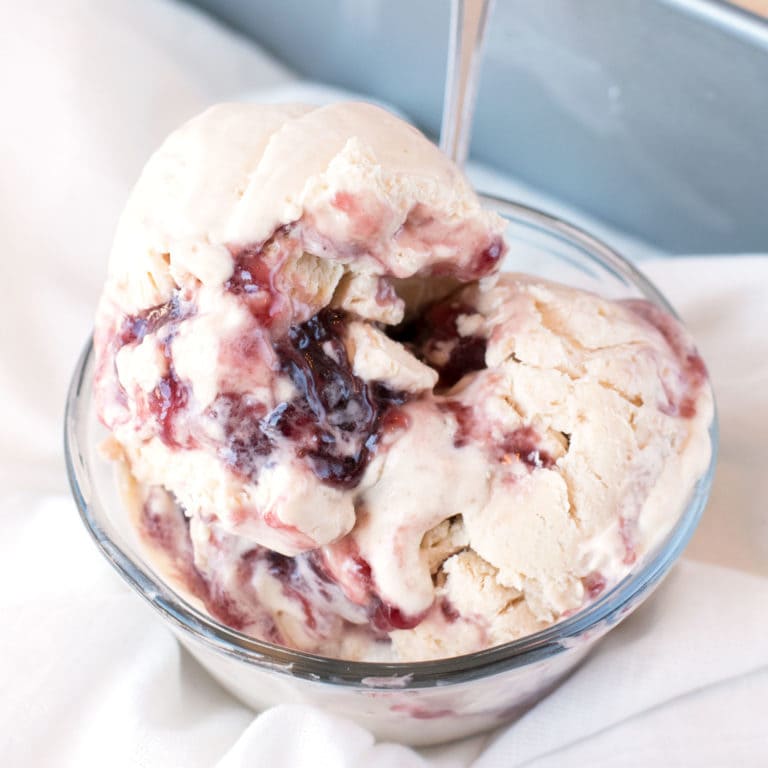
The light, fluffy meringue is hard on the outside, soft and luscious on the inside. When you top it with fresh whipped cream, raspberry sauce, and fruit it all comes together in a light, cool, cream dessert that is SO much better than the traditional fruit tart you generally see at picnics.
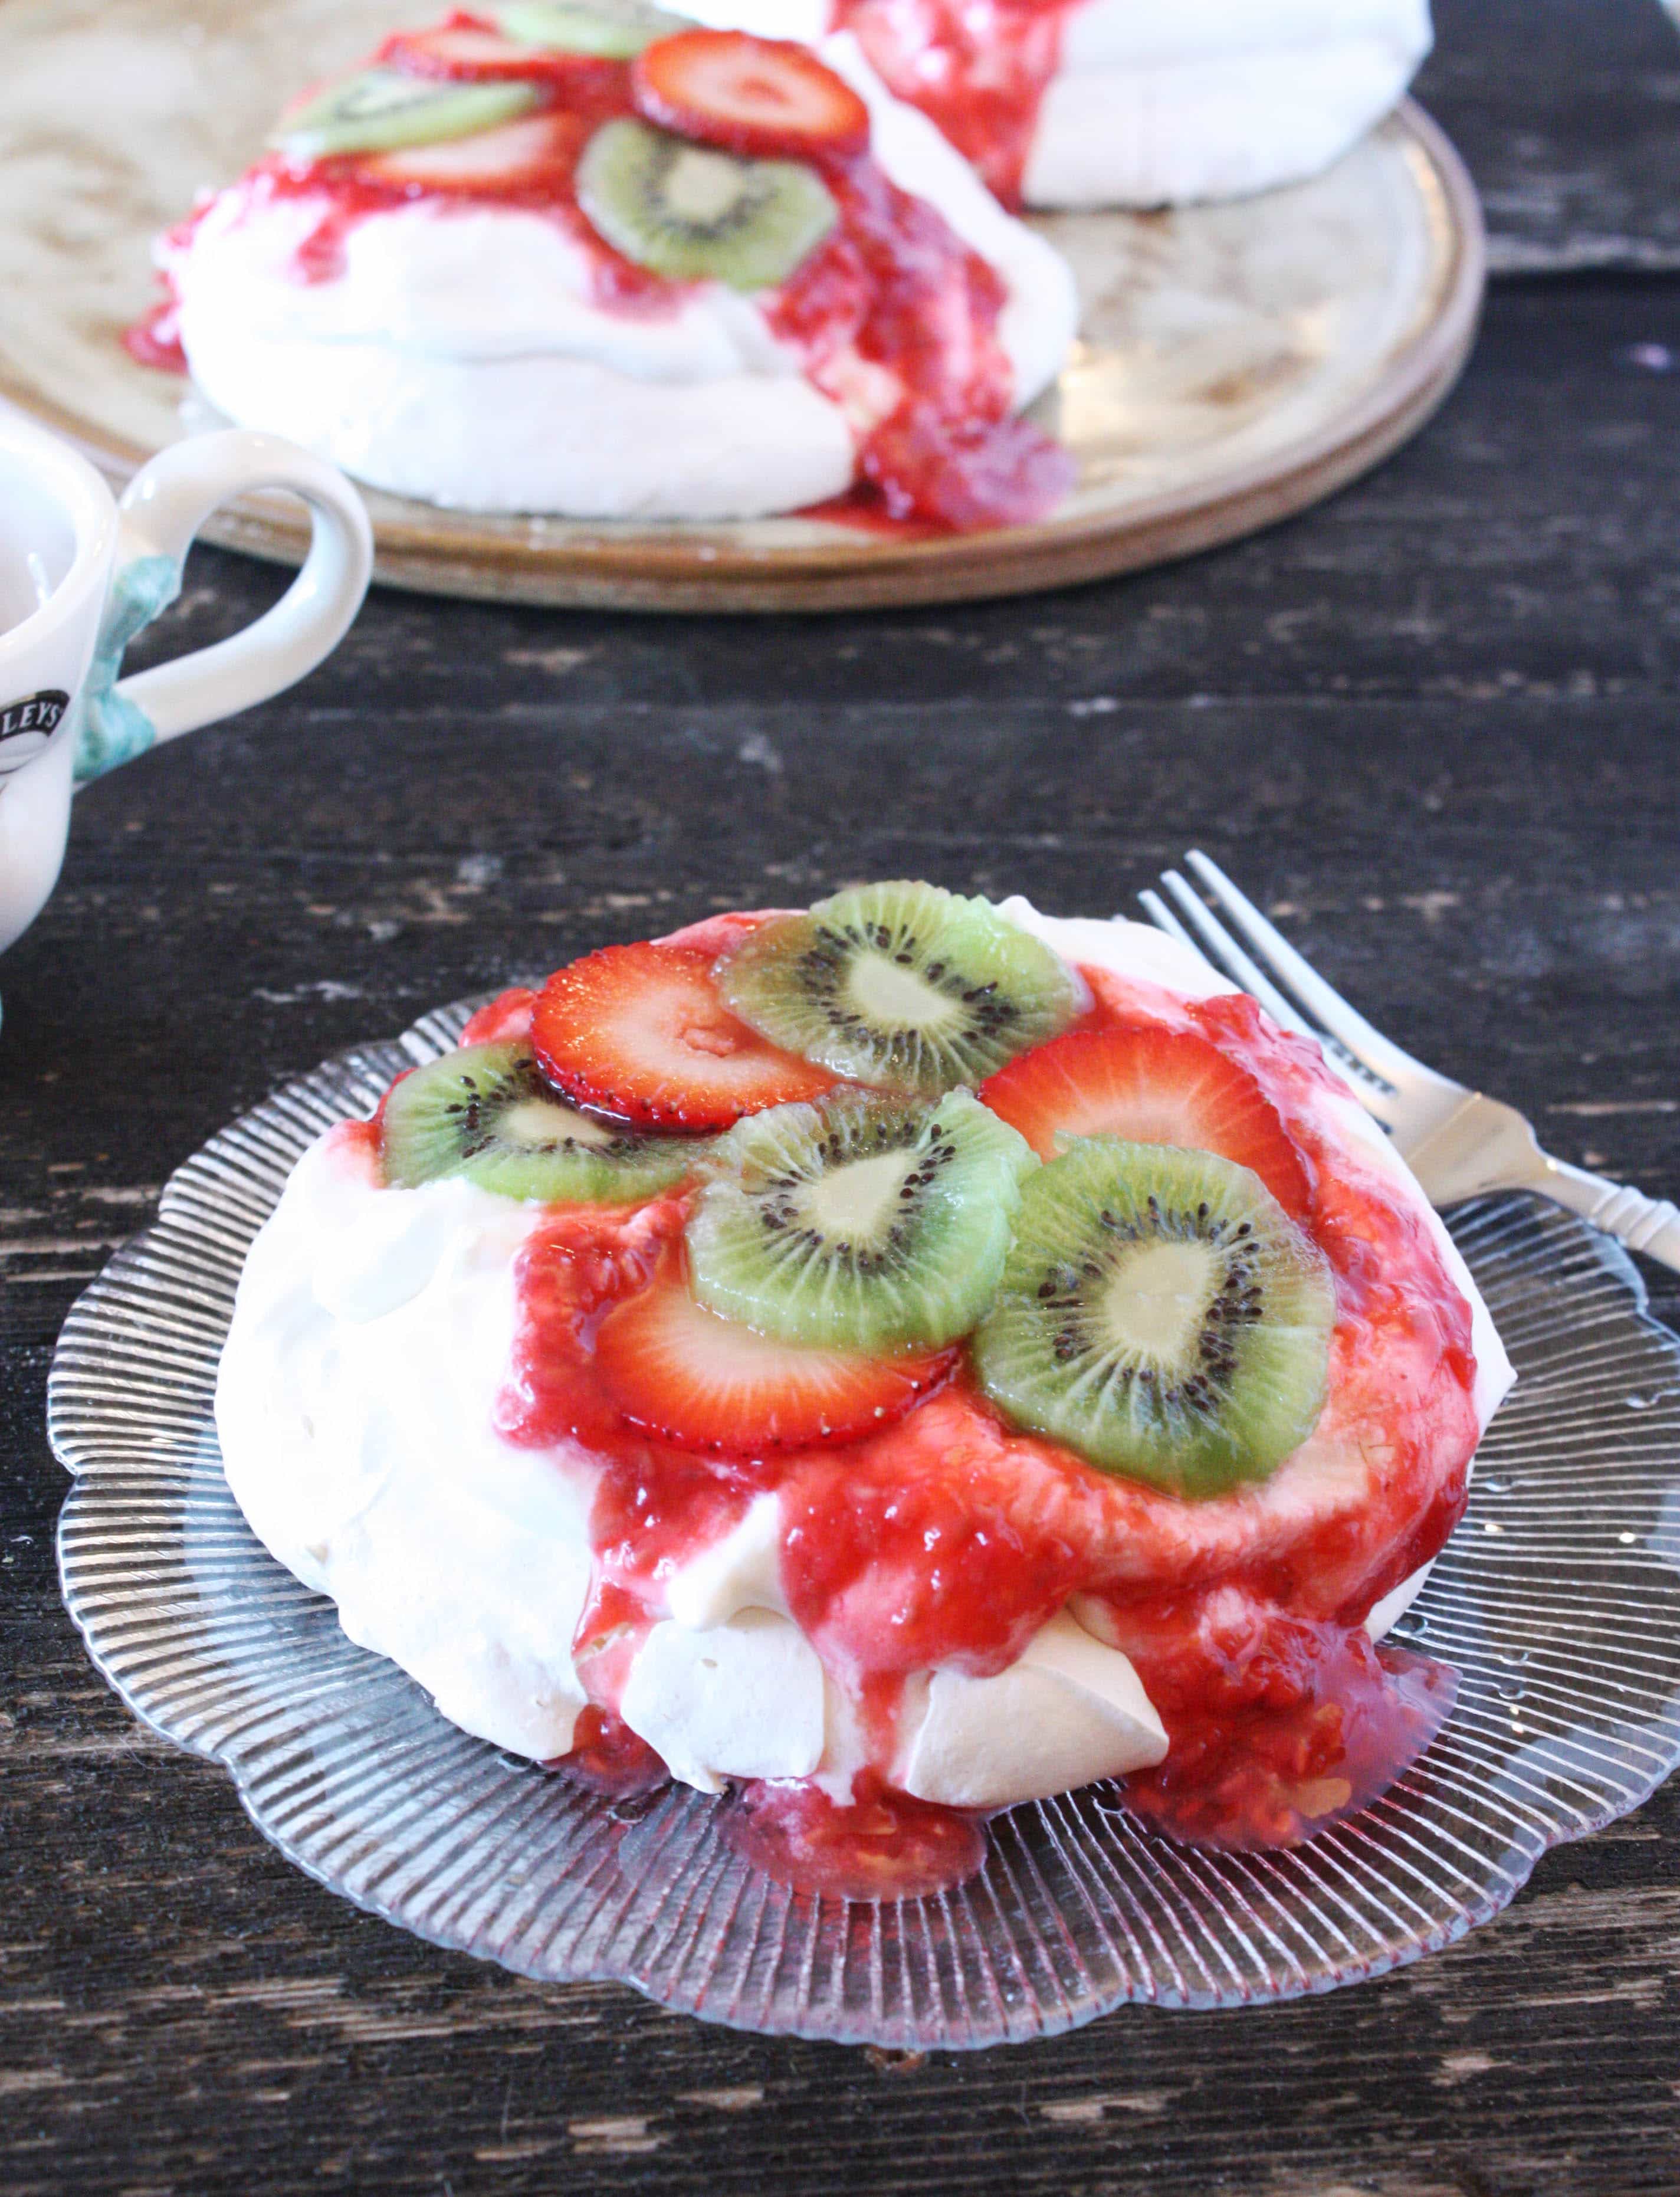
The big thing I remember about the pavlovas I had as a child was how messy it would get and how difficult it could be to cut a slice that didn’t either break or lose half the topping. I decided to take the traditional pavlova and make smaller versions so you get a whole individual pavlova all to yourself (you could probably share it with one other person but who wants to do that??).
Now I have not been very successful with meringue in general in the past but I thought I could channel my grandma’s spirit in the kitchen and hopefully that would give me some luck.
My grandma must have been looking over me while I was making these pavlovas because the meringue came out beautifully. It could have also been this guide to peaks that I found and followed very closely… If you are not 100% familiar with soft peaks vs firm peaks vs stiff peaks, I highly recommend this guide. It was easy to follow and helped me figure exactly when to stop my mixer.
It’s literally impossible not to let out a groan while you are eating this masterpiece of a dessert.
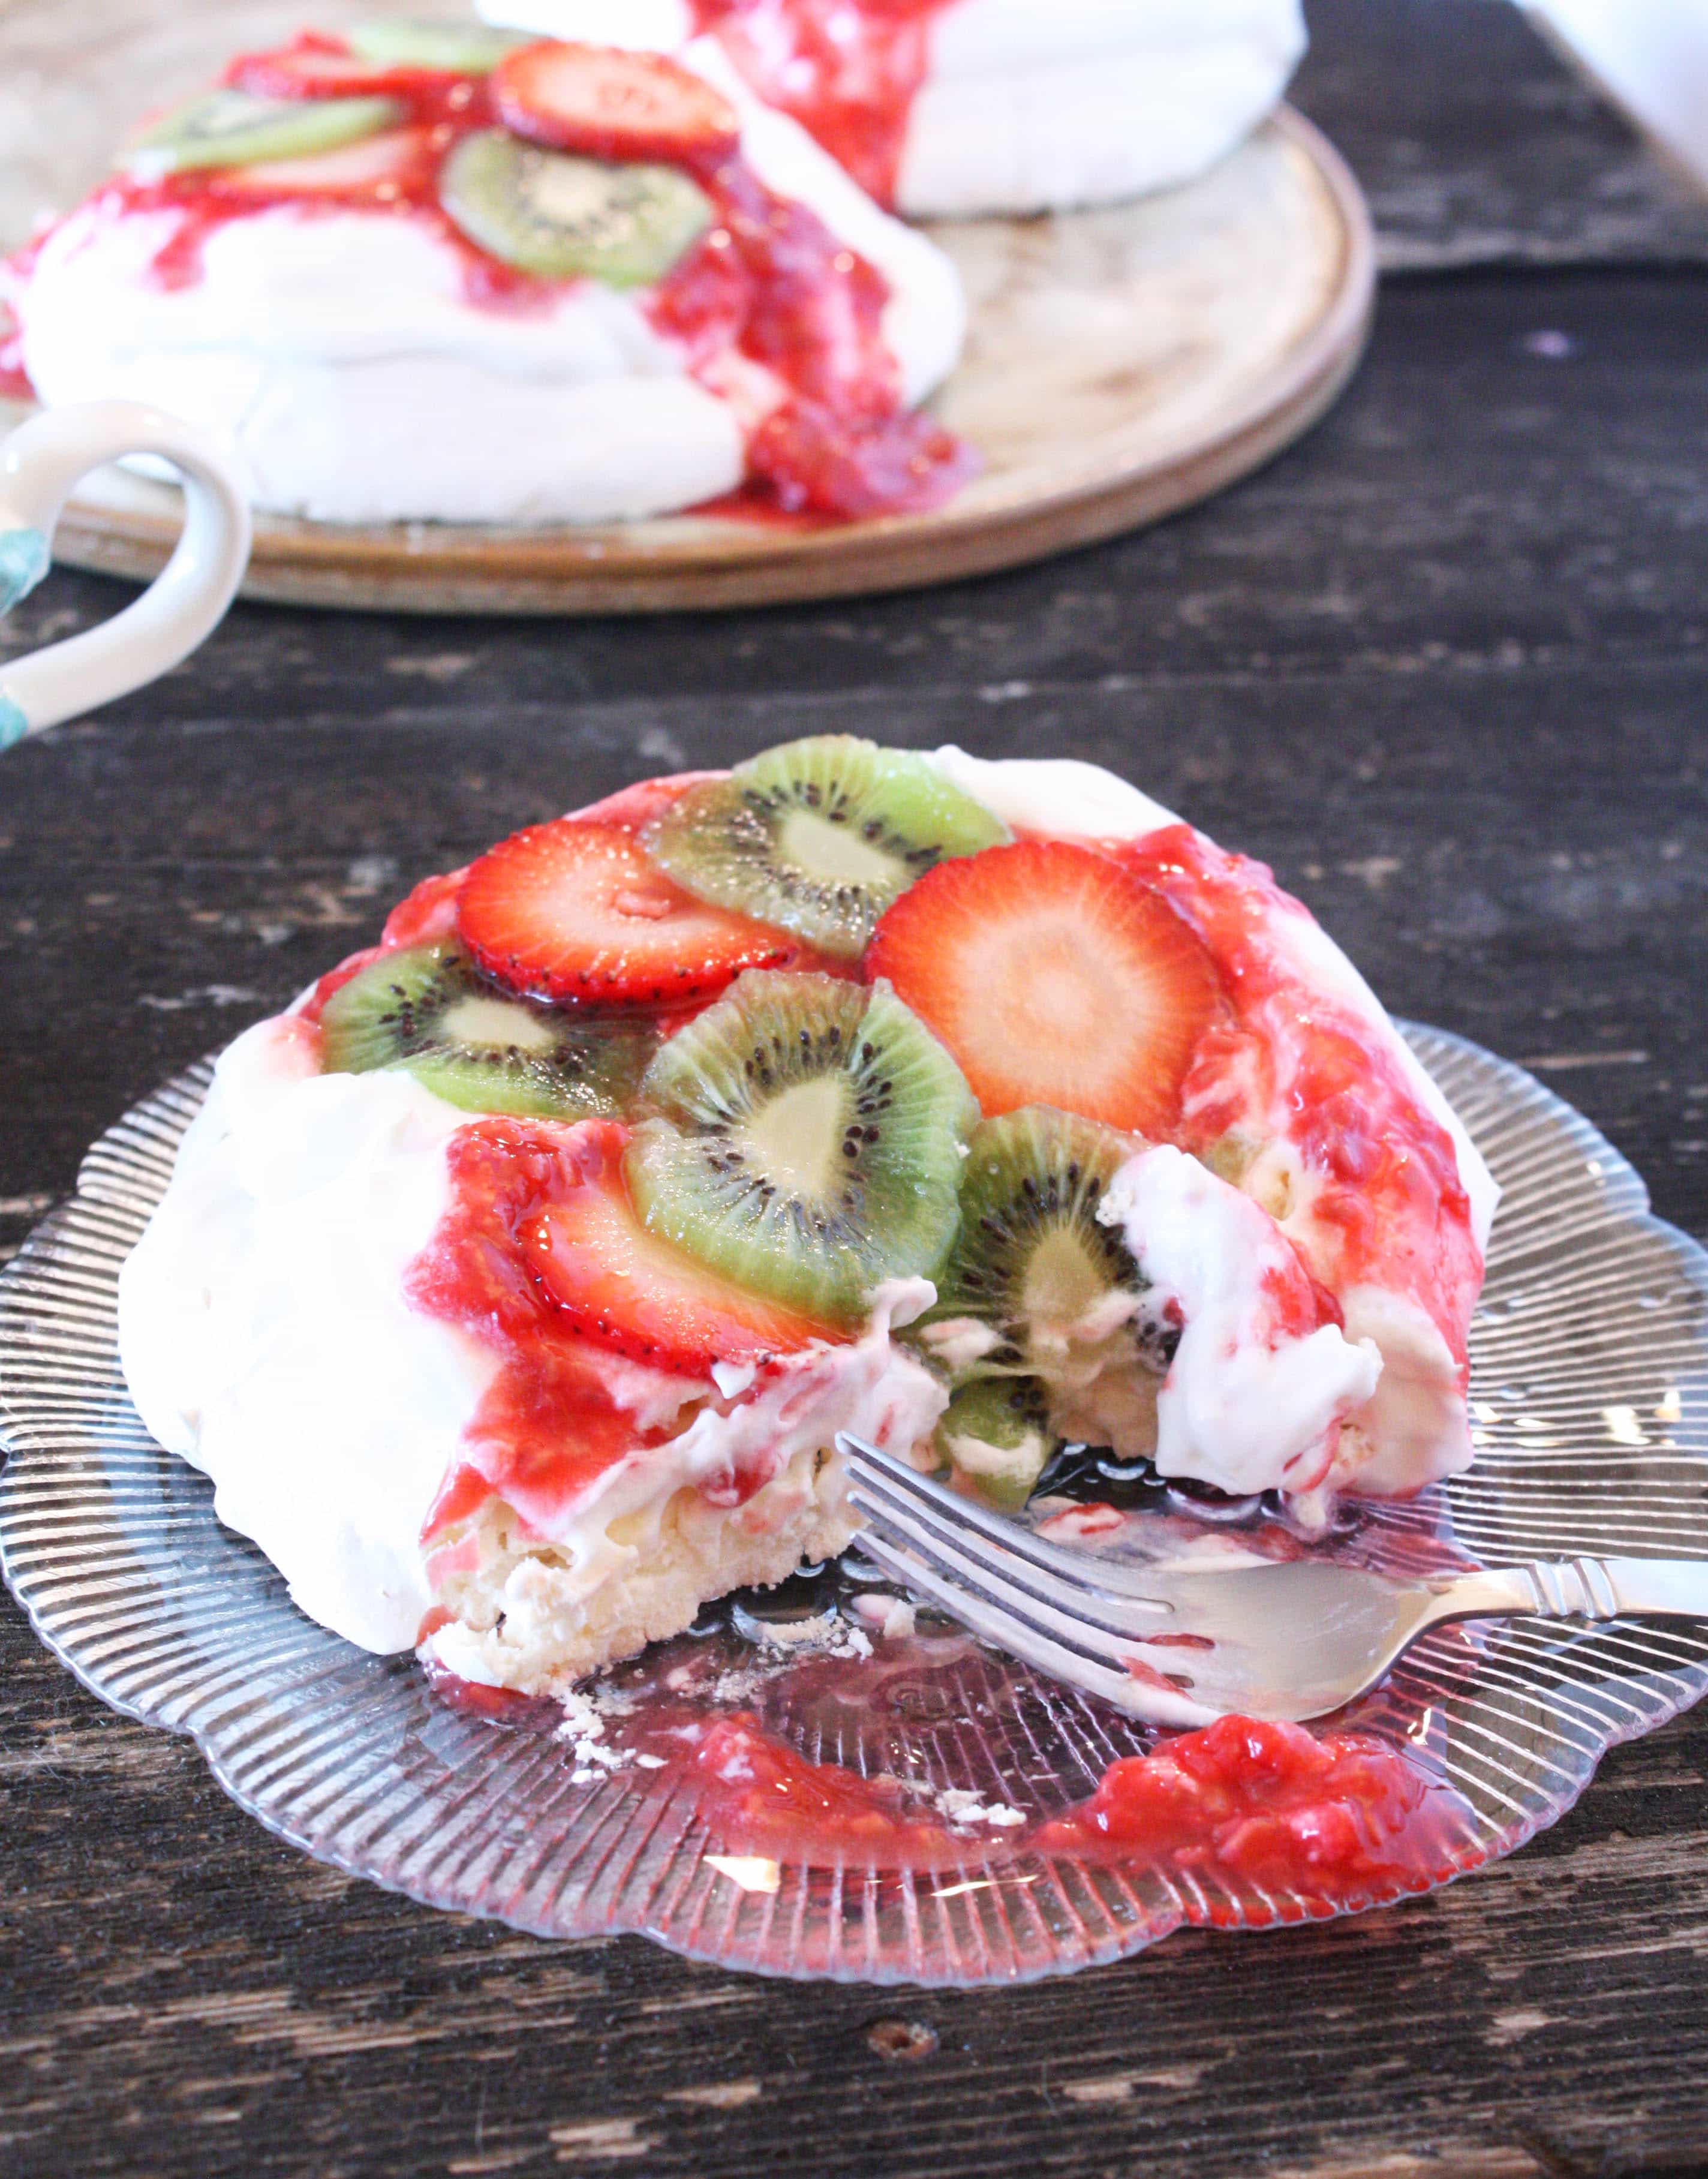
It is every bit as magical as it was when I was just a little first grader trying it for the first time.
Individual Pavlovas
ingredients
- 4 egg whites room temperature
- 1/8 tsp salt
- 1 cup sugar
- 1 tbsp cornstarch
- 4 kiwi thinly sliced
- 1 cup strawberries thinly sliced
- 1 1/2 cups whipping cream I made mine by whipping up 1 cup heavy cream in a blender until it formed soft peaks
- 1 tbsp cornstarch
- 1/2 cup sugar
- 1/2 cup water
- 2 tsp lemon juice
- 2 cups crushed raspberries
instructions
- Preheat the oven to 400 degrees. To make the pavlova, begin by beating egg whites and salt until soft peaks form. Gradually add sugar and cornstarch until the mixture reaches stiff peaks.
- Grease a baking sheet (or use a Silpat). Pile the mixture into 4 separate piles on the baking sheet (try to space them out as evenly as you can). Shape each into a circle and don't spread it too thin (my circles were about 1 inch high). Place in preheated oven and immediately reduce the heat to 250 degrees. Bake until lightly browned and dry to the touch - about 1 hour and 15 minutes. Cool.
- To make the raspberry sauce, combine all ingredients in a medium saucepan over medium heat. Cook until the sauce boils and thickens. Then remove from heat, cover, and chill completely.
- Top you pavlovas with whipped cream, raspberry sauce, and sliced fruit. Serve immediately.

about meghan
Meghan Yager is the recipe developer, food photographer, and creative force behind Cake ‘n Knife, where everyday moments are celebrated with bold, flavor-forward recipes. From cozy cocktails to bold appetizers and indulgent desserts, her approachable style brings people together around food worth sharing. Meghan’s work has been featured by Good Housekeeping, Oprah Daily, Today, Woman’s Day, and The Huffington Post. She lives in Denver, where she brings big flavor and a little sass to every bite.

I’ve never had a pavlova, but I do love meringue! I’ll have to try these sometime soon.
If you do please let me know how it turns out!! 🙂
Thank you for the lovely post, this brings back such wonderful memories. Pavlova is a special treat that is best made with love, for those you love. I can’t wait to try yours!
Aww thank you Lisa!
Hello! I had a quick question, I know this post is from a while back but do you remember if you cooled the pavlova’s in the oven or not? Some recipes call for turning off the oven and letting them sit inside for an hour after backing and I thought I’d check.
Thanks!
Hi there! I cooled the pavlovas outside of the oven; no need to leave them in the oven to cool!