
Please note this post contains affiliate links.

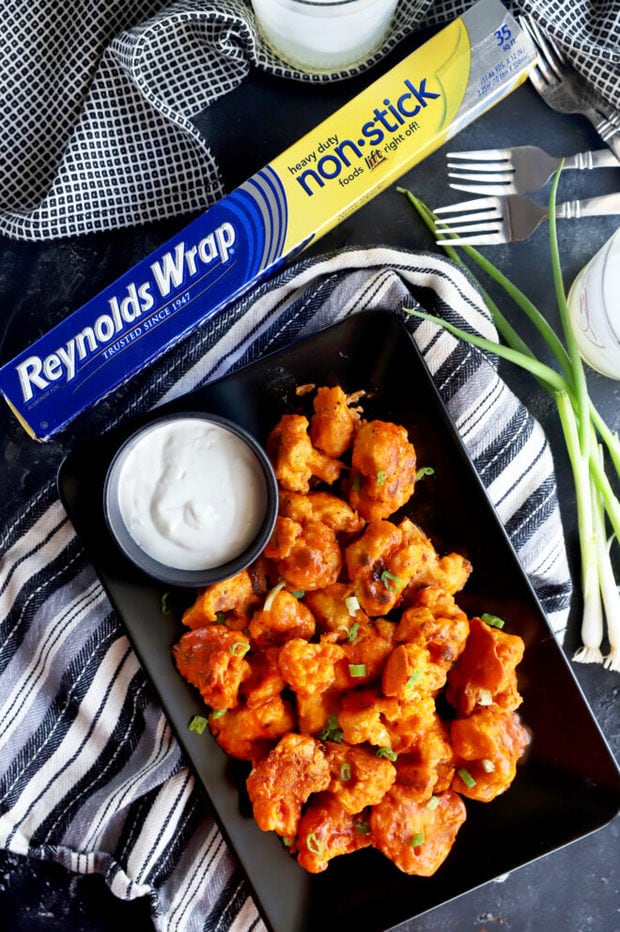
Baked crispy buffalo cauliflower is the sneaky game day snack with a healthy twist, straight from the oven. With the help of Reynolds Wrap® Non-Stick Aluminum Foil, the cleanup is simple and the buffalo cauliflower bites lift right off the pan!
Disclosure: This post is sponsored by Reynolds Wrap®. As always, all opinions are my own.
With the extra time I have at home, I couldn’t be more excited for the excuse to cook more of my favorite snack foods.
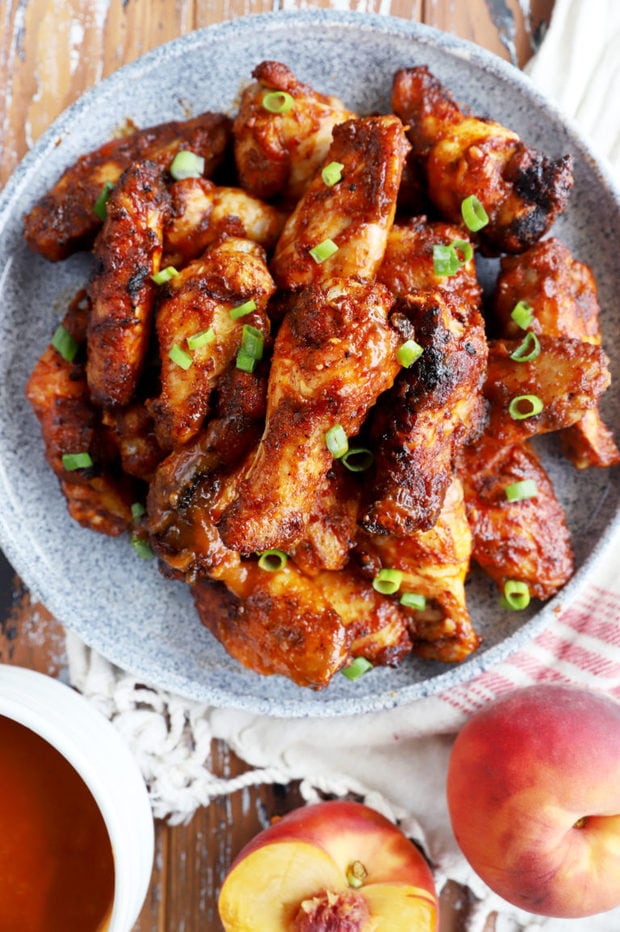
For me, there’s nothing like a plate of buffalo wings to get the taste buds firing.
However, this time, in an effort to try to get a little healthier, I am turning to cauliflower.

I swear, cauliflower bites are all the rage right now. Whether they are baked or fried, the crispy florets are the new chicken wing for those who want to bring a little more healthiness into their diet.
Instead of frying these florets, I turn to baking because it cuts the calories and it’s MUCH easier to make and clean up.
Of course this only happens with the help of Reynolds Wrap® Non-Stick Aluminum Foil. I am super excited to be working with Reynolds Wrap® to bring you these cauliflower bites this month!
Why am I so excited about something as simple as aluminum foil?
Let’s chat about that for a moment. When it comes to aluminum foil, there’s so many uses but one of the most common is to line a baking sheet with it. That’s exactly how it’s used here, and with the non-stick aluminum foil, there’s no cooking spray, butter, or oil involved to grease the pan.
When you use the dull side, i.e. the non-stick side, you get a food-safe coating that makes it easy to line the pan and the food just slides right off! The best part? THE CLEAN UP.

As you all know, I HATE doing dishes. Well guess what? With the non-stick aluminum foil from Reynolds Wrap®, you’ve got one less thing to clean. Simply crumple up the foil and toss it in the trash when you are done. BOOM BABY. We find it to also be much better than parchment paper!
The heavy duty aluminum foil also makes for a killer option to use on the grill whether you are lining the grill to make sure nothing falls through or grilling up foil packets.
Hosting a party? Add pizza muffins to the spread for a cheesy spin on your favorite pizza flavors.

This Recipe’s Must-Haves
First and foremost, you need Reynolds Wrap® Non-Stick Aluminum Foil to line a half baking sheet pan for baking the florets.
You will also need a set of mixing bowls and a small saucepan to make the batter for the florets and the spicy sauce.

how to make crispy buffalo cauliflower
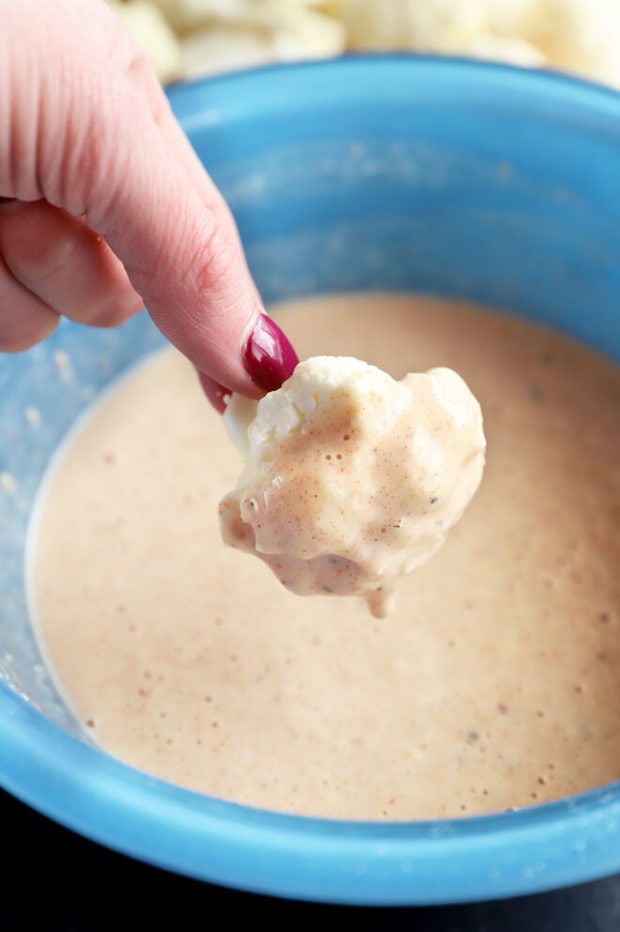
Coat cauliflower
The cauliflower gets its crispy texture from the thin batter that coats the florets. The batter comes together simply by whisking it all together and then dipping each floret.
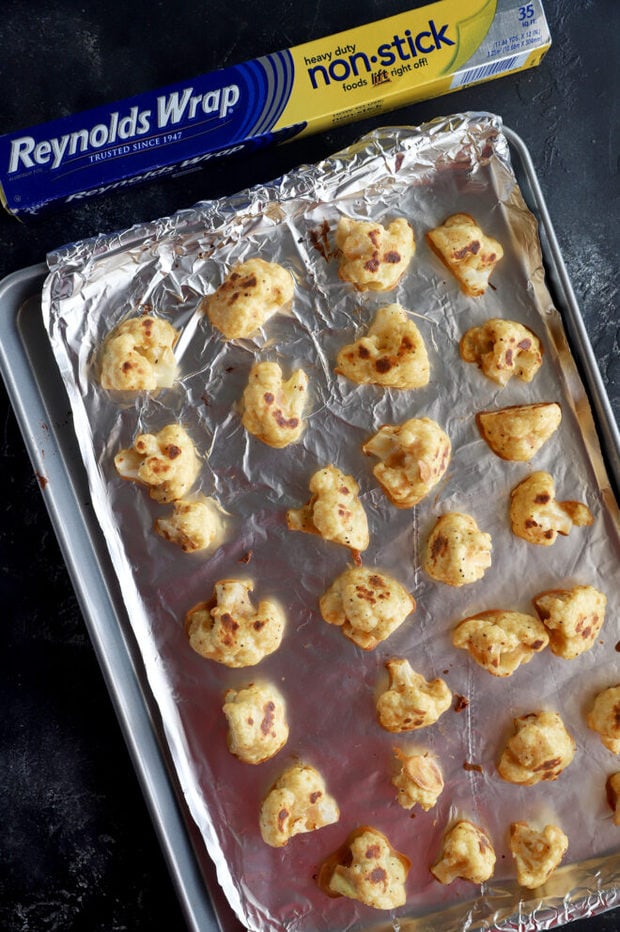
Be sure to shake off the excess before placing it on a baking sheet lined with Reynolds Wrap® Non-Stick Aluminum Foil. No need for olive oil to prep the foil since it is nonstick!
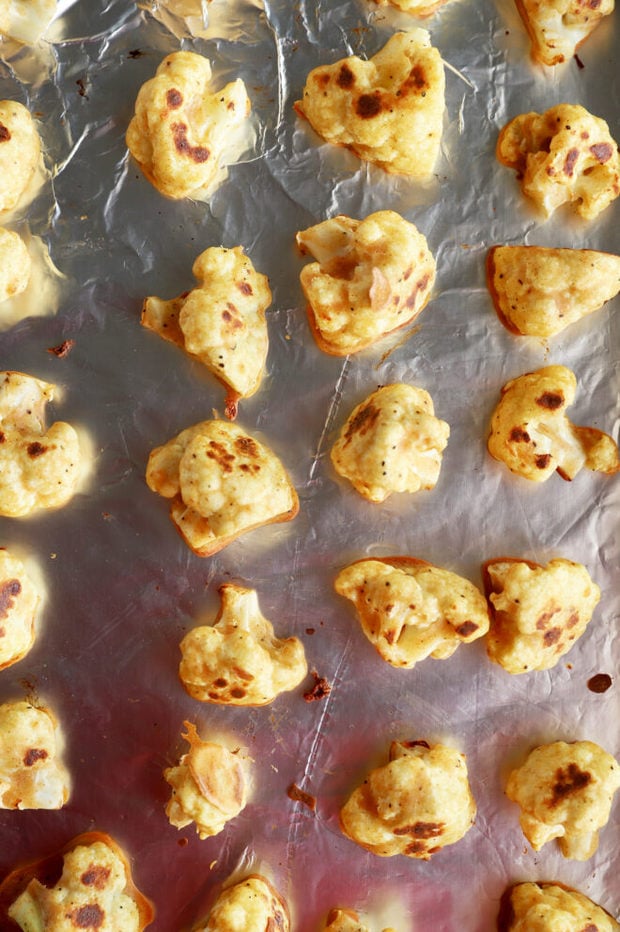
Bake
The cauliflower gets baked until it’s golden brown and crisp on the outside. Make sure that you stir the florets halfway through so they brown evenly on all sides!
Make Sauce
All you have to do to make the sauce is to melt the butter, then stir in the hot sauce and honey. That’s it!
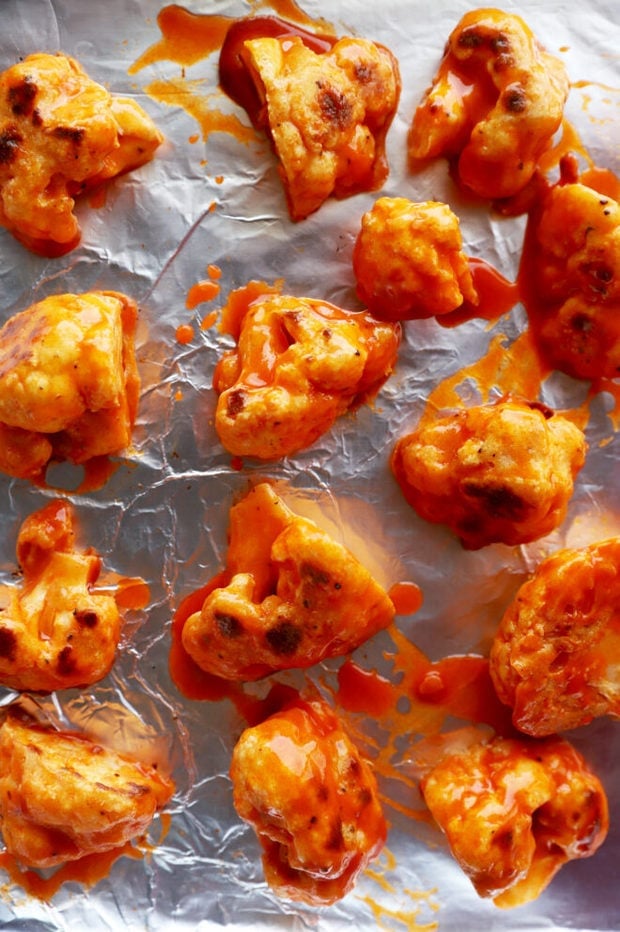
Toss & bake again
Toss the florets in a bowl with most of the sauce and then it’s time to bake again. Once the florets are all crispy, you can remove them, drizzle over the remaining sauce, and serve right away with your fave dipping sauce in a small bowl (for me that’s blue cheese dressing but for others it could be ranch dressing!). You can even serve them with a side of celery sticks and carrot sticks like traditional buffalo chicken wings!
Tips for Success
- Want to make it vegan? Use non-dairy milk and non-dairy butter substitutes to make these buffalo cauliflower wings.
- Make it in the air fryer! Air fry it at 400˚F for about 15 to 20 minutes until crispy, tossing halfway through.
- You can also serve this as a side dish to your favorite meaty mains like steak or grilled chicken.

help! my cauliflower isn’t getting crispy!
If your cauliflower isn’t getting crispy, here’s a few tips to make sure it does:
- make sure that you let the excess batter drip off the cauliflower bites before placing on the baking sheet. If the coating is too thick, it will not crisp up in the time recommended for baking.
- space the florets 1-inch apart. If they are too close together, they will simply steam and not get crispy. If you need to use two baking sheets to accomplish this, do that!
- continue baking until crispy! Every oven is different and so you may need to roast it for an additional 5 to 10 minutes to get it golden and crispy.
- make sure they are crispy before you add the sauce! If you don’t let them get crispy in the oven first, then the sauce will just make them soggy.
Love all things buffalo? For dinner, whip up these easy, spicy buffalo chicken tacos!

everyday seasonal cookbook
With seasonal produce guides, recipes, and more, this cookbook is filled with seasonal food for every occasion.

Baked Crispy Buffalo Cauliflower
ingredients
- Reynolds Wrap® Non-Stick Aluminum Foil
- 1/2 cup water
- 1/2 cup milk
- 3/4 cup all-purpose flour
- 2 tsp garlic powder
- 1 tsp onion powder
- 1 tsp cumin
- 1 tsp smoked paprika
- 1/4 tsp salt
- 1/4 tsp ground pepper
- 1 head of cauliflower washed and cut into florets (approx. 4 cups of florets)
- 1/2 cup Frank’s red hot sauce
- 1 tbsp butter
- 1 tsp honey
- Sliced green onion for garnish
instructions
- Preheat oven to 425˚F. Line a rimmed baking sheet with Reynolds Wrap® Non-Stick Aluminum Foil. If you don't have non-stick foil, be sure to coat the foil lining with nonstick cooking spray. Set aside.
- In a medium bowl, stir together water, milk, flour, and spices until well-combined.
- Dip florets into the batter, shaking off the excess before adding to the lined baking sheet in a single layer. Space them at least 1-inch apart on the baking sheet.
- Bake for 20 minutes, flipping halfway through, until crispy and golden brown. Make sure that the florets are getting crispy and golden before coating in buffalo sauce! This may mean you need to bake them longer, depending on your oven.
- While the cauliflower is baking, melt butter in a small saucepan over medium heat. Stir in hot sauce and honey. Cook for another 5 minutes until slightly thickened. Remove from heat and cool slightly.
- Add florets to large bowl and toss with ¾ of the buffalo sauce. Return to the lined baking sheet in a single layer. Bake for another 15 minutes, then drizzle with remaining sauce.
- Serve immediately with ranch or blue cheese.
nutrition

about meghan
Meghan Yager is the recipe developer, food photographer, and creative force behind Cake ‘n Knife, where everyday moments are celebrated with bold, flavor-forward recipes. From cozy cocktails to bold appetizers and indulgent desserts, her approachable style brings people together around food worth sharing. Meghan’s work has been featured by Good Housekeeping, Oprah Daily, Today, Woman’s Day, and The Huffington Post. She lives in Denver, where she brings big flavor and a little sass to every bite.


Such a great alternative to buffalo wings! Looks delicious. 🙂
This Baked crispy buffalo cauliflower looks incredibly delicious!
YUM! Such a fantastic side or appetizer!! LOVE this!
Love that this is crispy! Definitely a delicious healthy alternative to wings!!
Now I know what I will make for dinner tonight! Yum!
Can I use almond or coconut flour?
You should be able to use coconut flour!
How do you end up with 3/4 cup of sauce when it only uses 1/2 cup of Franks Red hot?
So sorry for the confusion! It should say “3/4 of the sauce” not 3/4 cup!
Can you use Wheat flour?
I haven’t personally tried using wheat flour, but I don’t know why it wouldn’t work since these are baked! It should be fine to swap in!
Can the flour be replaced with Cornstarch? and can this be airfryed?
I do not recommend replacing the flour with cornstarch as the batter will get too thick. You can use gluten free 1:1 ratio flour instead if you want! Also, these can definitely be air fried! Set the air fryer to 400˚F and cook for about 10 to 15 minutes until crispy (for the first round). Toss in sauce and then air fry again at 400˚F for about 5 minutes. Enjoy!